In today’s fast-paced world, capturing and maintaining your audience’s attention during a presentation can be a daunting challenge. Standard, static slides often fail to engage viewers, leading to diminished impact and retention of your key messages. As presenters, educators, or professionals, we all strive to make our presentations memorable and effective. This is where animated PowerPoint presentation templates come to the rescue, offering a dynamic and visually appealing way to convey your ideas.
This blog provides a step-by-step guide to creating stunning animated effects in PowerPoint, transforming your slides from mundane to mesmerizing. Each section covers a unique animation technique, complete with detailed instructions and free downloadable templates to help you get started.
1/4 Animated PowerPoint Presentation Templates: Scrolling Blocks

Transform your PowerPoint presentations with a smooth scrolling effect that adds a professional touch to your slides. This technique involves creating a sequence of blocks containing your content that scrolls seamlessly across the slide, allowing you to present multiple points in a dynamic and engaging way.
By following these steps, you’ll learn how to format your background, design content blocks, and use the Morph transition to achieve a captivating scrolling effect:
- On an empty PowerPoint slide, right click and select ‘Format Background’. From the side panel, select ‘Picture or texture fill’ and paste / insert your desired background photo.
- By the left-hand side of your slide, insert a round-edged square with a weighted outline in the color of your choice.
- Right click on the round-edged square and click on ‘Format shape’. From the side panel, fill it with a picture that represents your first point of topic.
- Beside it, insert a rounded rectangle to serve as your text box. Add text on top accordingly.
- Consider the photo + text as one block: add the other blocks just below that will serve as different points of topic for your presentation.
- Once done, group the blocks altogether.
- Add rectangles to the top and bottom edges of the slide, leaving a focal space where one block would fit perfectly.
- Select the newly added rectangles and right click. Then, select ‘Format Object’.
- From the side panel, tick the radio button for “Slide background fill”. This creates an invisible barrier for the top and bottom edges of your slide from which your blocks would slip through under, as if scrolling.
- Duplicate the slide. On the duplicated slide, move the grouped blocks up to position the focus on the 2nd block.
- Keep on duplicating and repeating the same step until all blocks have been positioned at the same focal zone of the slides.
- Once done, select all slides. Go to the ‘Transitions’ tab and apply ‘Morph’.
Scrolling Blocks
Effortlessly animate your PowerPoint presentation with this template!
Try this 3D morph PowerPoint effect!
2/4 Animated PowerPoint Presentation Templates: Moving Spotlight

Add a dynamic flair to your PowerPoint presentations with a moving spotlight effect that highlights key elements on your slides. This technique is perfect for drawing attention to specific icons or graphics, making your content more engaging and visually appealing.
By following this tutorial, you’ll learn how to create a transparent spotlight that moves seamlessly across your slide to focus on different points:
- On an empty slide, insert individual and separate icons or graphics that you want to be spotlit.
- Insert a ‘donut’ shape and make it big enough to cover the entire slide. Adjust its inner thickness to make sure the slide canvas can still be seen from behind.
- Color it black and give it a 30% transparency. To adjust transparency, right click on it, then ‘Format Shape’, and set accordingly from the side panel.
- Duplicate the slide. And on the duplicated slide, adjust the donut’s thickness by dragging the transform point inwards until you make a clear circle fit for each of your individual graphics.
- Move the shape accordingly to give focus to your first graphic, as if a spotlight. Then, add text on the available blank space.
- Duplicate the slide once again. And on yet another duplicated slide, adjust the spotlight to focus the next graphic. Then, add text accordingly.
- Repeat the same steps until all points have been spotlit.
- Once done, select all slides. Go to the ‘Transitions’ tab and apply ‘Morph’.
Scrolling Blocks
Effortlessly animate your PowerPoint presentation with this template!
3/4 Animated PowerPoint Presentation Templates: Opening Doors Transition

This creative technique involves designing a background with doors that open to reveal different slides, creating a visually intriguing and dynamic experience for your audience.
In this tutorial, you’ll learn how to set up individual destination slides, design a door-themed background, and link each door to its respective slide:
- Prepare your individual slides, the ones where the doors lead to.
- Insert an empty last slide. right click and select ‘Format Background’. From the side panel, select ‘Picture or texture fill’ and paste / insert your desired background photo.
- In this example, we’re using doors to help us achieve the illusion of having to open them to move to a slide. Try Freepik for high-quality, free-to-use images.
- Once you have that photo with doors set as a slide background, insert rectangles on top of each door.
- Select all the rectangles. Then, right click and select ‘Format Object’. From the side panel, tick the radio button for ‘Slide background fill’. Under ‘Line’, tick ‘No line’.
- Select the first rectangle, which should now appear exactly as the first door on the slide background, and go to the ‘Insert’ tab.
- Go to ‘Action’ and hyperlink it to a previously-prepped slide where you want it to lead to.
- To avoid confusion, make the linking chronological. For instance, the first rectangle (door) is linked to Slide 1. The second is linked to Slide 2, and so on.
- Once hyperlinks are done, duplicate the main (doors) slide to as much as your prepped slides. Then, place the duplicates in between each slide.
- Select all slides then go to the ‘Transitions’ tab and apply ‘Doors’.
Scrolling Blocks
Effortlessly animate your PowerPoint presentation with this template!
Looking for animated PowerPoint template for science presentations, try this Current and Voltage PowerPoint template!
4/4 Animated PowerPoint Presentation Templates: Rotating Circles

Enhance your PowerPoint presentations with a rotating circle transition effect that adds movement and visual interest to your slides.
This technique involves creating a series of circles that rotate and transition smoothly between slides, giving your presentation a dynamic and engaging flow:
- On an empty PowerPoint slide, right click and select ‘Format Background’. From the side panel, select ‘Picture or texture fill’ and paste / insert your desired background photo.
- Repeat this step for all the other slides that you have for your presentation.
- Going back to slide #1, insert a circle big enough to cover the entire slide. Then, duplicate it twice sizing each in decreasing sizes.
- Select all 3 circles. Then, right click and select ‘Format Object’.
- From the side panel, tick the radio button for ‘Slide background fill’. Under ‘Line’, tick ‘Solid line’ and color it white. Adjust its transparency to 50% after.
- Copy all the three circles, and then paste them onto the next slide. From here, rotate each circle in different degrees.
- Copy these newly-rotated circles and paste, once again, onto the slide up next. Repeat the same steps until you finish all your slides.
- Once done, add text accordingly to each slide.
- Select all slides then go to the ‘Transitions’ tab and apply ‘Morph’.
Scrolling Blocks
Effortlessly animate your PowerPoint presentation with this template!
Explore more animated PowerPoint presentation templates here.
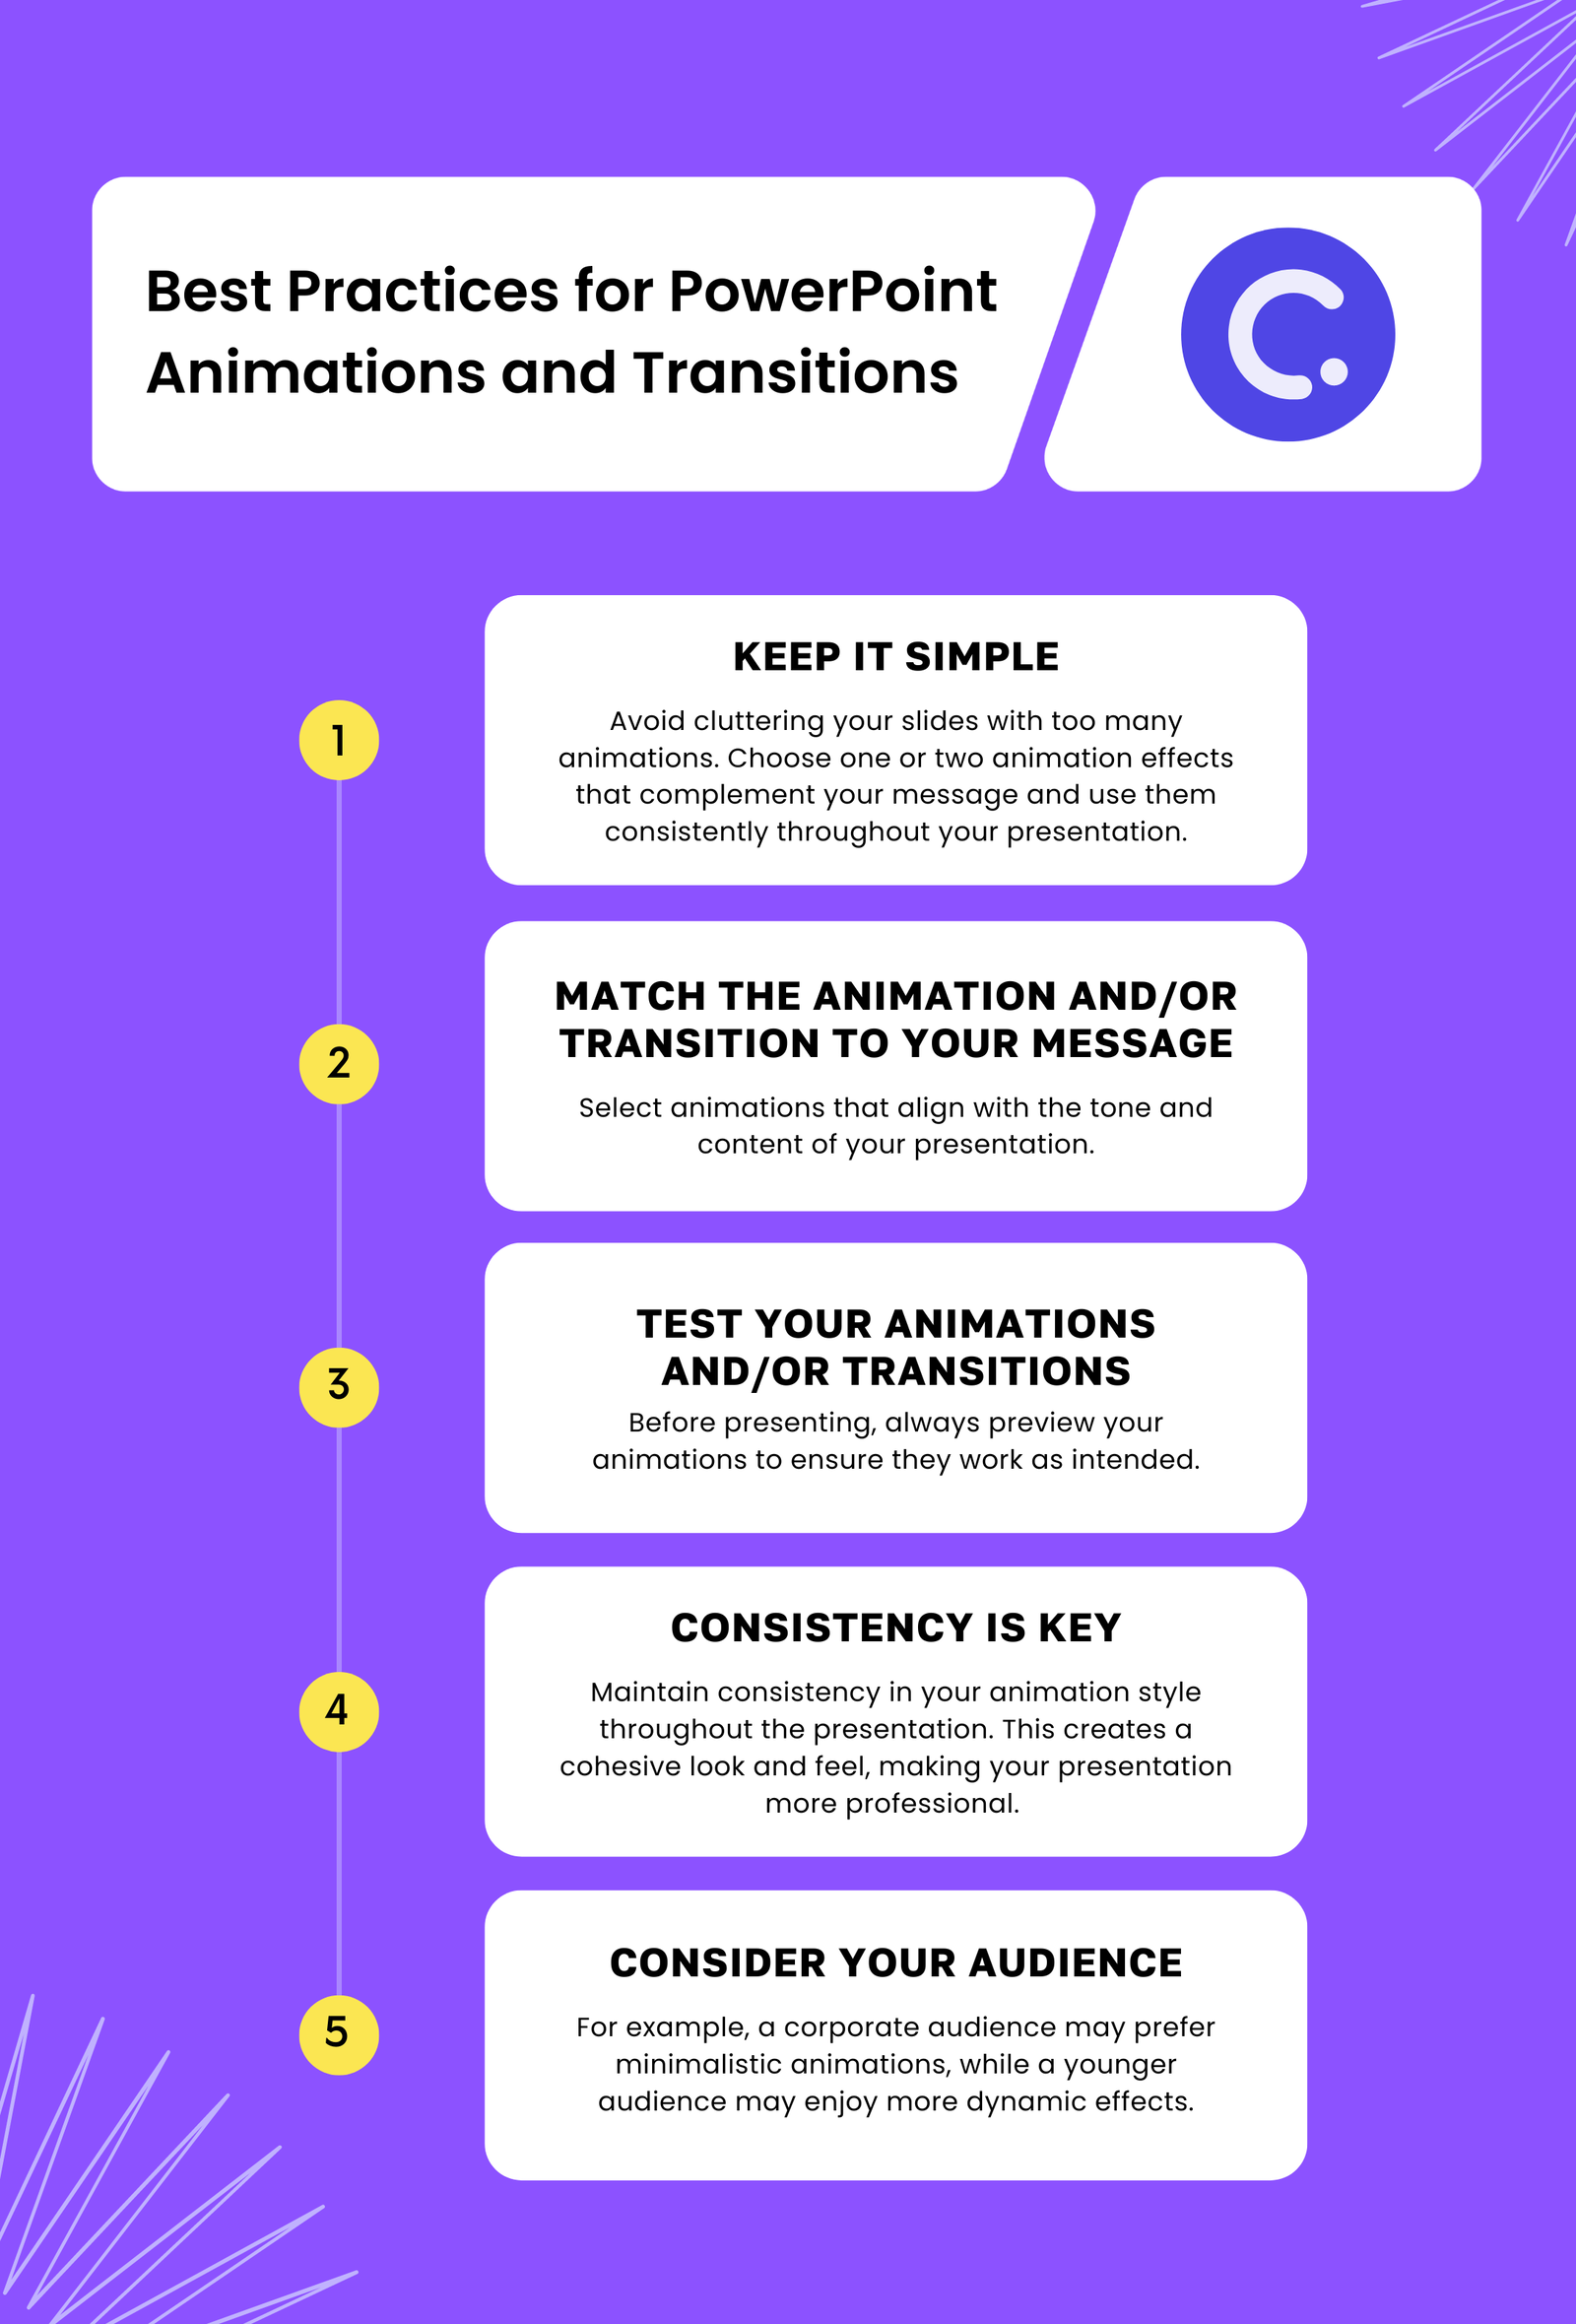
Best Practices for PowerPoint Presentation Animations and Transitions

1. Keep It Simple
While animations can greatly enhance your presentation, overusing them can have the opposite effect. Avoid cluttering your slides with too many animations. Instead, choose one or two animation effects that complement your message and use them consistently throughout your presentation.
2. Match the Animation and/or Transition to Your Message
Select animations that align with the tone and content of your presentation. For instance, subtle animations like fades and wipes are suitable for professional settings, while more dynamic effects like spins and zooms can be used for creative or informal presentations.
3. Test Your Animations and/or Transitions
Before presenting, always preview your animations to ensure they work as intended. Run through your slides several times to catch any issues and make necessary adjustments. This helps you deliver a polished and professional presentation.
4. Consistency is Key
Maintain consistency in your animation style throughout the presentation. This creates a cohesive look and feel, making your presentation more professional. Stick to a few animation types and use them uniformly across all slides.
5. Consider Your Audience
Always consider your audience when choosing animations. Ensure that your animations are appropriate for the context and audience demographics. For example, a corporate audience may prefer minimalistic animations, while a younger audience may enjoy more dynamic effects.
Food for Thought
As you explore the possibilities of animated PowerPoint presentation templates to enhance your interactive PowerPoint presentation experience, remember that the goal is to enhance your message, not overshadow it. Animations and transitions should serve to highlight your key points and maintain audience engagement, but they should never detract from the core content of your presentation.
Consider the story you want to tell with your slides. How can animations help you convey this story more effectively? Think about your audience’s perspective and how you can use these techniques to create a memorable and impactful experience.
Finally, don’t be afraid to experiment and find your own style. The tools and templates provided in this blog are starting points; feel free to customize and adapt them to suit your unique presentation needs. With practice and creativity, you can master the art of animated presentations and leave a lasting impression on your audience.
