Creating an inclusive learning environment where every student can participate is crucial for effective teaching. Classroom hand signals are a powerful tool for classroom management, offering a simple, non-verbal way to help streamline communication, minimize disruptions, and ensure that every student, regardless of learning style or personality, can engage with the lesson.
By incorporating hand signals, teachers can manage their classrooms more efficiently while fostering a sense of belonging. Students who might feel hesitant to speak up in a traditional classroom setting can now express themselves with confidence, knowing they are included and able to contribute in ways that suit their comfort levels. Let’s explore how you can introduce hand signals to enhance participation, their benefits, and how to adapt them for different age groups.
Table of Contents
Why Use Hand Signals?

Hand signals are more than just a tool for managing classroom noise; they can be transformative for teachers and students alike.
For teachers, classroom hand signals streamline daily classroom interactions, reducing the need for verbal instructions and minimizing interruptions. This helps maintain the flow of lessons, saves time, and keeps the focus on learning. Hand signals also enable teachers to manage multiple student requests efficiently, making it easier to gauge comprehension and provide support without disrupting the overall class.
For students, hand signals create a more inclusive and equitable environment. They empower quieter students or those with language barriers to communicate without needing to speak up, ensuring everyone can participate. Hand signals also foster a sense of independence, as students can signal their needs or contributions without waiting for a verbal prompt.
Benefits of Classroom Hand Signals
- Reduces interruptions during lessons, helping maintain focus
- Fosters student independence
- Encourages participation from shy or introverted students
- Promotes classroom management by streamlining communication for common requests
- Improves inclusivity by supporting students who may have language barriers or special needs
- Supports multitasking for teachers
How to Introduce Classroom Hand Signals to Students
Introducing classroom hand signals requires a clear and consistent approach. Here’s a quick guide to making the transition smooth:
- Start with a Few Basic Signals – Choose a few simple signals that match common classroom needs, such as raising one finger for a question or using a fist for bathroom breaks.
- Model the Signals – Demonstrate the signals yourself, making sure to explain the purpose behind each one.
- Create Classroom Poster – Display a poster of the hand signals at the front of the classroom or in a visible spot for students to have a visual reminder
- Practice with Your Students – Repetition is key. Practice the signals until students feel comfortable using them naturally during lessons.
- Reinforce Usage – Be consistent in recognizing and responding to hand signals during class. Over time, this will become second nature to both you and your students.
- Reflect and Make Adjustments – Don’t be afraid to make changes as you go, add more signals once students get the hang of it if there is something that is occurring often
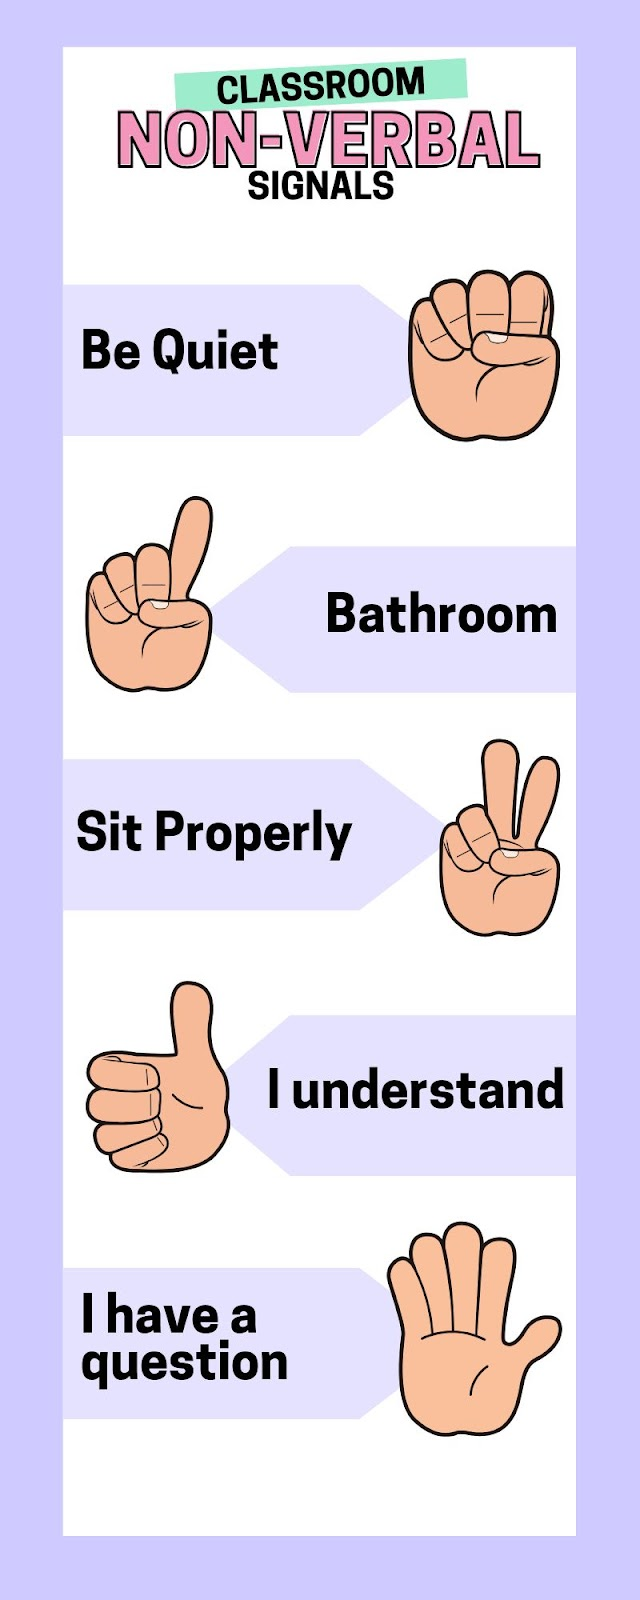
Classroom Hand Signals for Participation
Using classroom hand signals can transform the way students participate in lessons. Below are eight hand signals that not only help manage classroom flow but also invite every student to engage:
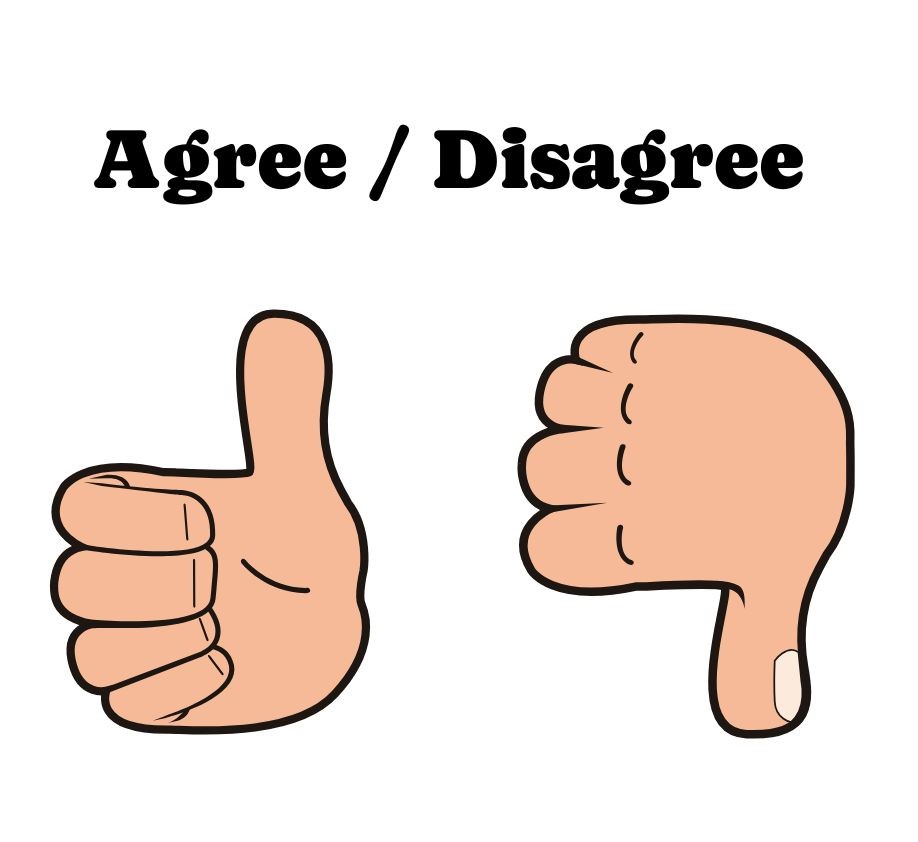
1. Thumbs Up/Thumbs Down
Meaning: Thumbs up for agreement or understanding; thumbs down for disagreement or confusion.
Usage: A quick way to check if students understand a concept or agree with a statement. Students can also use this if they do not get called on but agree or disagree with the answer their classmate has given.
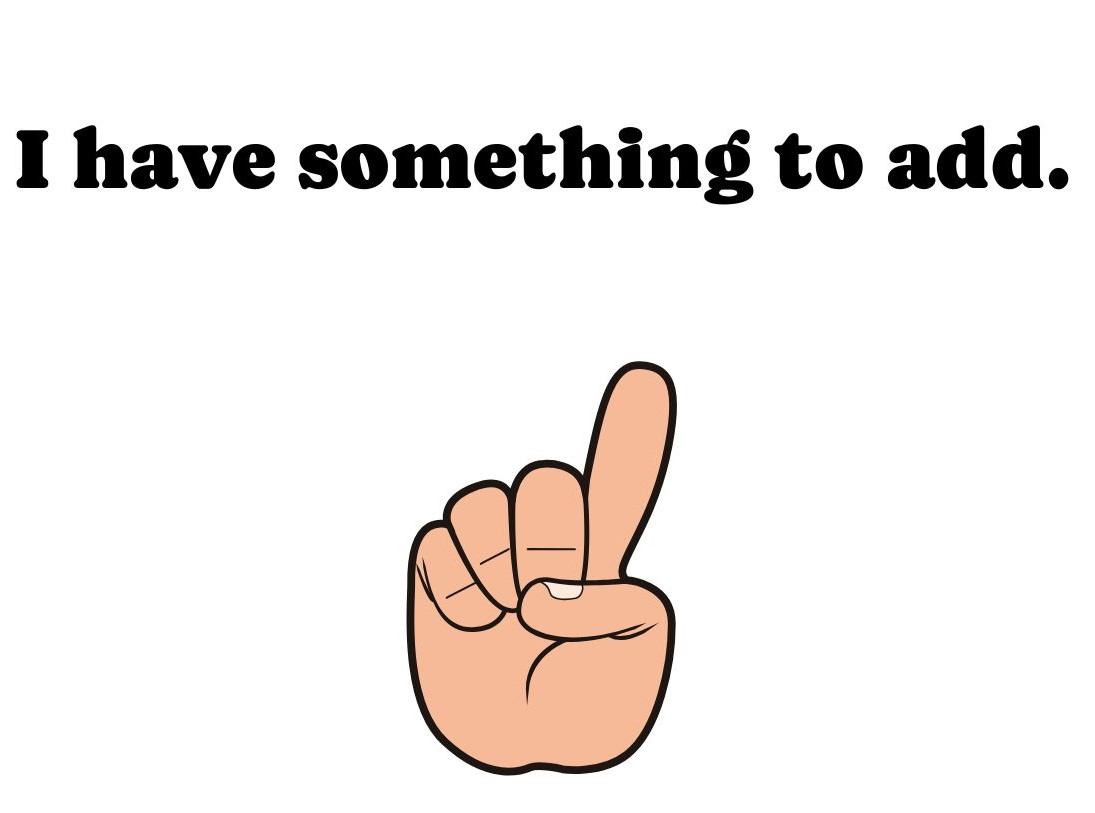
2. Pointer Finger Up
Meaning: “I have something to add.”
Usage: A great way to invite additional thoughts during discussions. This signal allows students to contribute without blurting out or raising their entire hand.
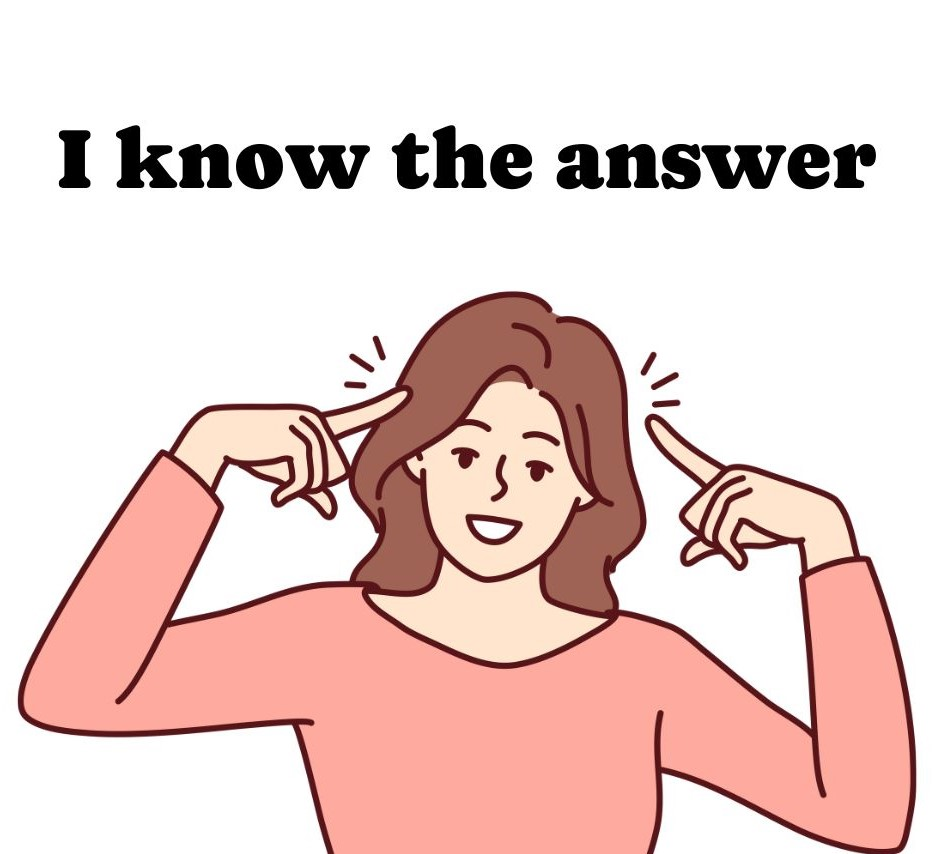
3. Hand on Head
Meaning: “I know the answer.”
Usage: Students can signal they know the answer to a question without shouting out, giving the teacher time to choose who will respond.
4. Two Fingers Raised
Meaning: “I want to challenge/disagree.”
Usage: This signal invites students to share a differing perspective or ask a follow-up question, fostering a more dynamic and thoughtful class discussion

5. Fingers Crossed
Meaning: “I have a question.”
Usage: Instead of raising their hand, students can use this signal when they want to ask something, reducing interruptions during group discussions.

6. Open Hand
Meaning: “I need help.”
Usage: Students can show an open hand when they’re stuck or need assistance, signaling the teacher to help without disrupting others.
Further Iteration: With an open hand and a hand on their heart, this can signal they need help with a personal issue, not academic one.

7. Waving Hand
Meaning: “I want to share an idea.”
Usage: This signal is for students who want to volunteer to answer a question or share their thoughts. It’s a playful yet effective way to encourage participation..

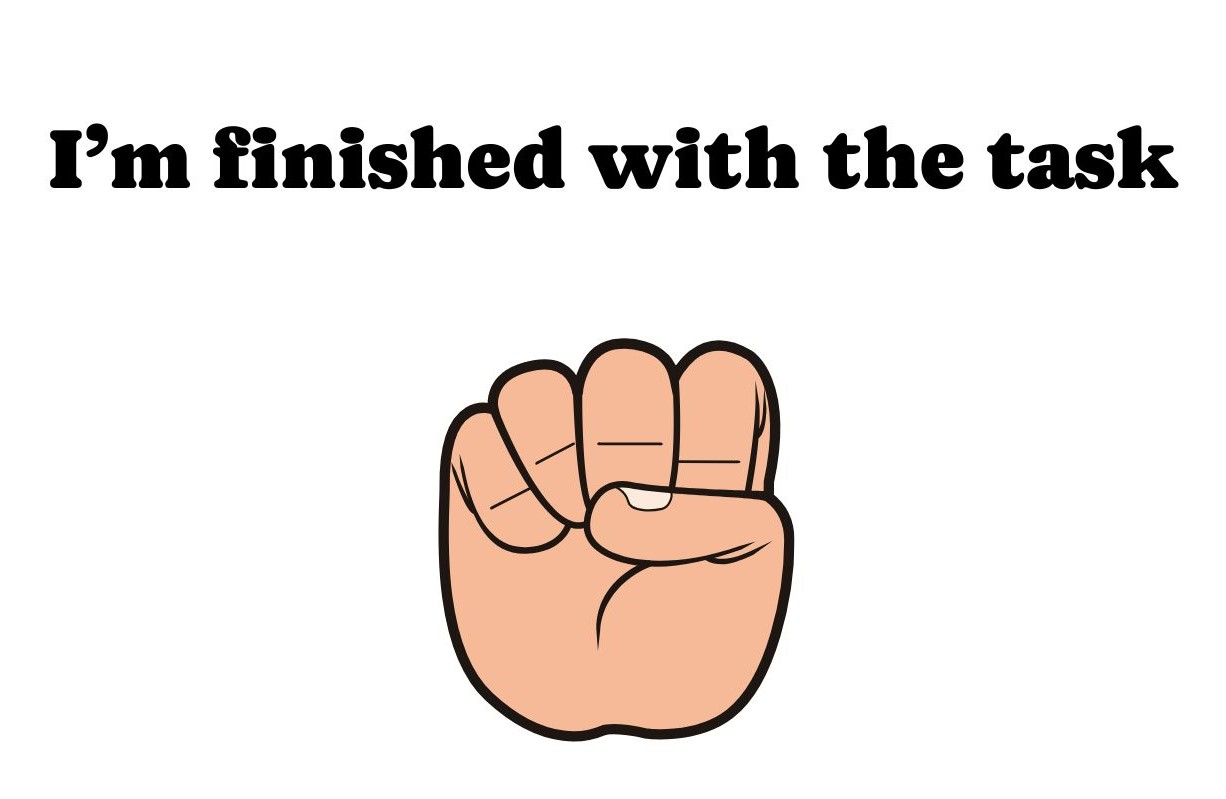
8. Clenched Fist
Meaning: “I’m finished with the task.”
Usage: Students use this signal to indicate they’ve completed their assignment or task, helping the teacher assess classroom progress quickly.
Common Hand Signals for Teachers
Teachers can also use hand signals to communicate non-verbally with their students for a smooth flow in the classroom:
- Finger over Lips: “Quiet”
- Circle with fingers: “Voice level zero”
- Raise hand: “Get attention”
- Encourage students to do this with you to bring the whole class to attention and quiet
- Two fingers vertical in front of two fingers horizontal: “Sit”
- One palm flat, with an upsidedown peace sign: “Stand”

How to Adapt Classroom Hand Signals for Different Age Groups
Every age group responds to classroom hand signals differently, so it’s important to adapt them to your students’ developmental levels.
For Younger Students
- Keep it simple: Younger students benefit from straightforward signals like raising their hand or showing one finger.
- Use visuals: Adding a visual element, like a chart of signals at the front of the room, can help younger children remember what each one means.
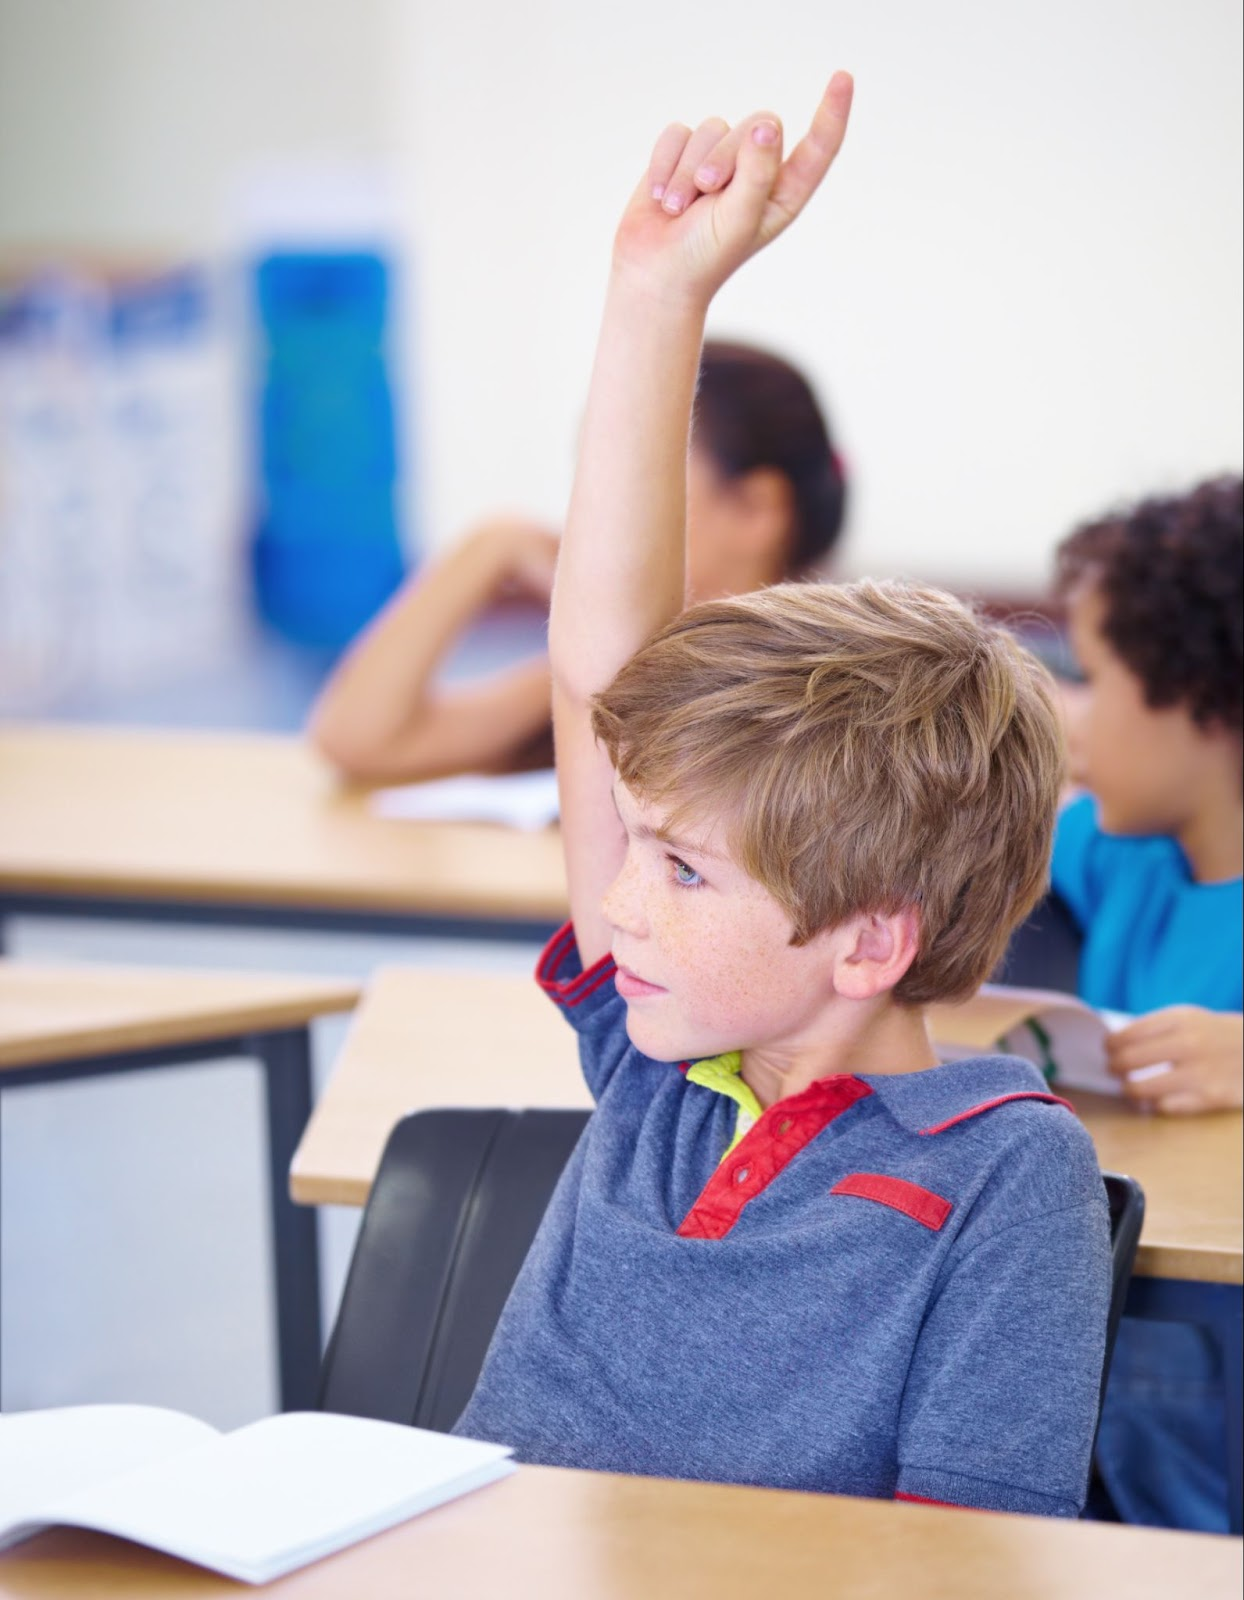
For High School Students
- Encourage more sophisticated signals: High school students can handle more nuanced signals, like using multiple fingers for different requests (e.g., two fingers for a bathroom break, three for needing help).
- Make it student-driven: High schoolers may appreciate being involved in the creation of their own hand signals, giving them ownership of the process and making the system feel more relevant to their needs.

Tips to Make Classroom Hand Signals Successful
Here are some tips to ensure classroom hand signals are effective and beneficial in your teaching:
- Introduce the signals gradually: Start with a few key hand signals and build up over time to avoid overwhelming students. This allows them to become familiar with the system step by step.
- Be consistent: Use the signals regularly and consistently so students understand they’re an integral part of the classroom routine.
- Make it fun: Incorporate hand signals into classroom games or activities to make them more engaging for students.
- Adapt as needed: Don’t be afraid to modify signals based on the needs of your students or to introduce new ones as your class evolves.
- Communicate the system to substitutes and classroom helpers: Ensure that anyone who steps into your classroom, whether it’s a substitute, paraprofessional, or volunteer, is familiar with the hand signals.
- Be mindful of accessibility: Adapt hand signals if needed to accommodate students with physical or learning disabilities. Ensure the signals are inclusive and accessible to all learners.
Conclusion
Introducing classroom hand signals can significantly enhance participation, streamline communication, and foster a more organized, inclusive classroom environment. Whether you’re working with younger students or high schoolers, these signals help students express themselves and engage with the material in a more dynamic, interactive way.
