In today’s digital age, effective presentation tools are vital for educators and professionals alike. PowerPoint slides have become a staple in classrooms and boardrooms, providing a visual aid to convey information. Some teachers use tools such as visualizers to make whiteboarding easier or to write atop their content, but still, digital content and physical handwriting are two different worlds in classroom teaching.
Do any of these scenarios sound familiar to you?
- Switching between a whiteboard tool and your PowerPoint Presentation
- Projecting your slides on the whiteboard and annotating on them using markers
- Switching your HDMI/VGA source frequently between computer and visualizer
- Always feeling that your whiteboard is not big enough
If so, that’s where ClassPoint, a powerful PowerPoint add-in, comes in. We address this problem by allowing you to annotate right on top of any of your PowerPoint slides, and by introducing an integrated digital whiteboard tool that you can add during your slideshow in PowerPoint. With ClassPoint’s array of customizable pen tools, interactive slide features, and unlimited whiteboard slides, ClassPoint revolutionizes the way we annotate on PowerPoint slides.
In this blog, we will explore how to annotate on PowerPoint by leveraging on the incredible capabilities of ClassPoint, enhancing your presentation experience.
How to Annotate on PowerPoint Slides with ClassPoint
You can annotate on any PowerPoint slide in your presentation with ClassPoint. On the ClassPoint Toolbar at the bottom of the screen in slideshow mode, you can see all the different annotation tools.
There are pens, highlighters, and an eraser as well as text boxes and shapes for you to add more information to your slides. You can adjust the pen & highlighter’s thickness and color. And for the text box and shapes you can choose font and fill colors right from a small secondary menu. If you made a mistake, you can quickly use the stroke eraser or you can actually adjust your shape and text box placement!
Without over-complicating your slide show, ClassPoint’s toolbar simply yet powerfully adds much more capability than PowerPoint’s native pens.
Once you add annotations, it will automatically save to your slide! But you can also quickly wipe your slides clean by hitting the Reset > Delete all annotations right at the top of the PowerPoint ribbon inside the ClassPoint tab. It’s that simple.
Add Whiteboards During Slide Show
And now with ClassPoint, you can expand on any thought by adding a whiteboard slide to your PowerPoint anytime!
To add a whiteboard, simply go to ClassPoint toolbar and click the Whiteboard icon. After that, choose among the different choices of backgrounds and click. A new slide with the selected background will be created without quitting slide show mode.
Freely annotate on the whiteboard slide with ClassPoint’s annotation tools. And when you exit slideshow, the whiteboard page you added during slideshow will be saved.
To further personalize your experience with ClassPoint, we have made it possible for you to create your own whiteboard background. To do this, simply click on the Whiteboard Backgrounds icon in the ClassPoint ribbon. You can upload your own image, like a graph paper, or create and turn any slide into a saved whiteboard background.
So now you have it, the digital whiteboard you can add to your slides anytime you need to. There are a few unique benefits of using ClassPoint’s whiteboard tool:
- It saves time: it is a matter of one-click vs. switching between PPT and whiteboard back and forth
- Integration with your slides: usually whiteboard is the continuation of slides so ClassPoint puts them together
- Unlimited: you can add as many whiteboard slides as you need, you never have to run out of room!
- Easy saving and sharing: because of the digital form, the whiteboard slides can be easily saved (as PPT/PDF) and shared online
Interact with Slide Material
In addition to the annotation and whiteboard tools, you can also use ClassPoint’s added to tools to interact with your slides to keep your audience more engaged and your presentation dynamic. Let me explain these main 2:
Laser
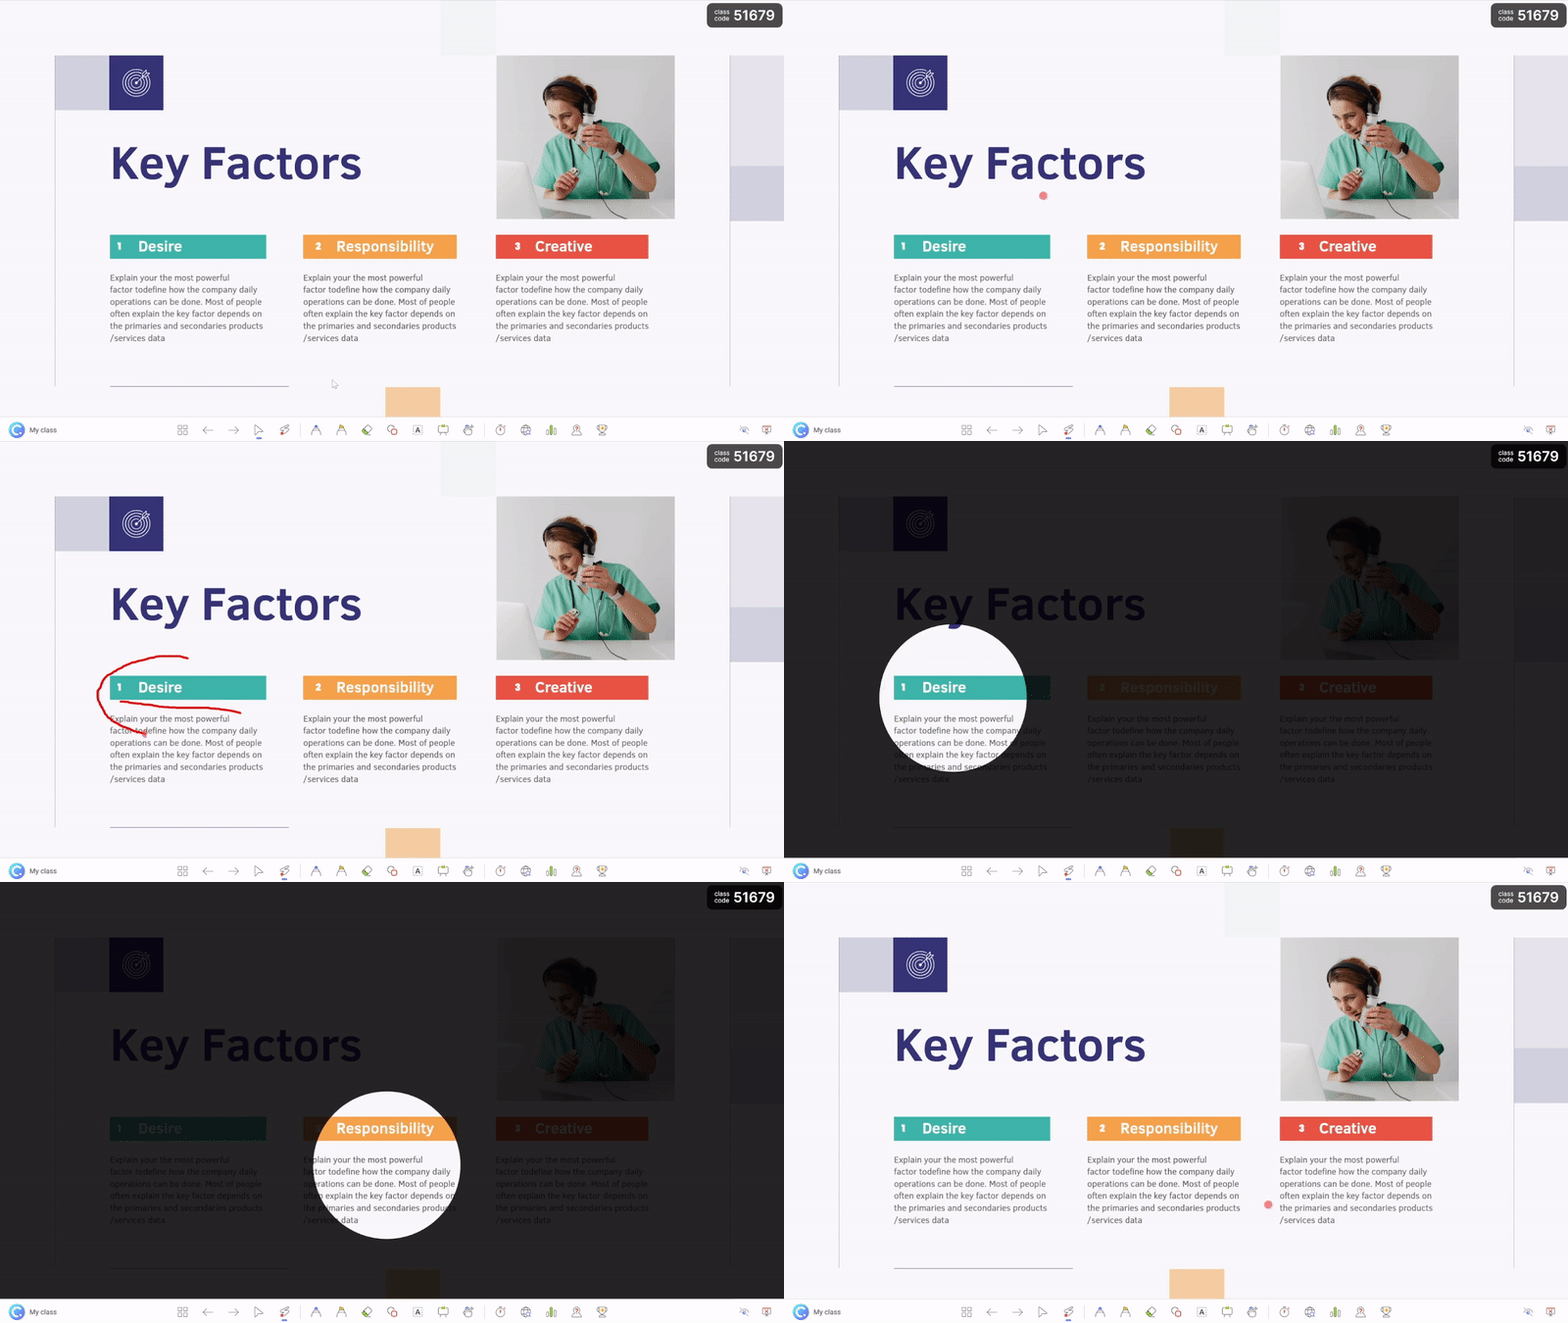
First, you can use the laser tool to draw attention to a certain area of the slide. But unlike normal laser tool, this one has a few hidden tricks.
- By clicking the ‘S’ key or clicking on the middle scroll button on your mouse, you can turn your laser pointer into a spotlight circle to really pin down your audience’s focus & attention.
- But it still gets better: you can actually write with the laser to create disappearing ink on your slide! Now you can scribble, circle, underline, and mark up your slide to help you aid your explanation without ruining it or taking the time to delete your inking after.
Draggable Objects
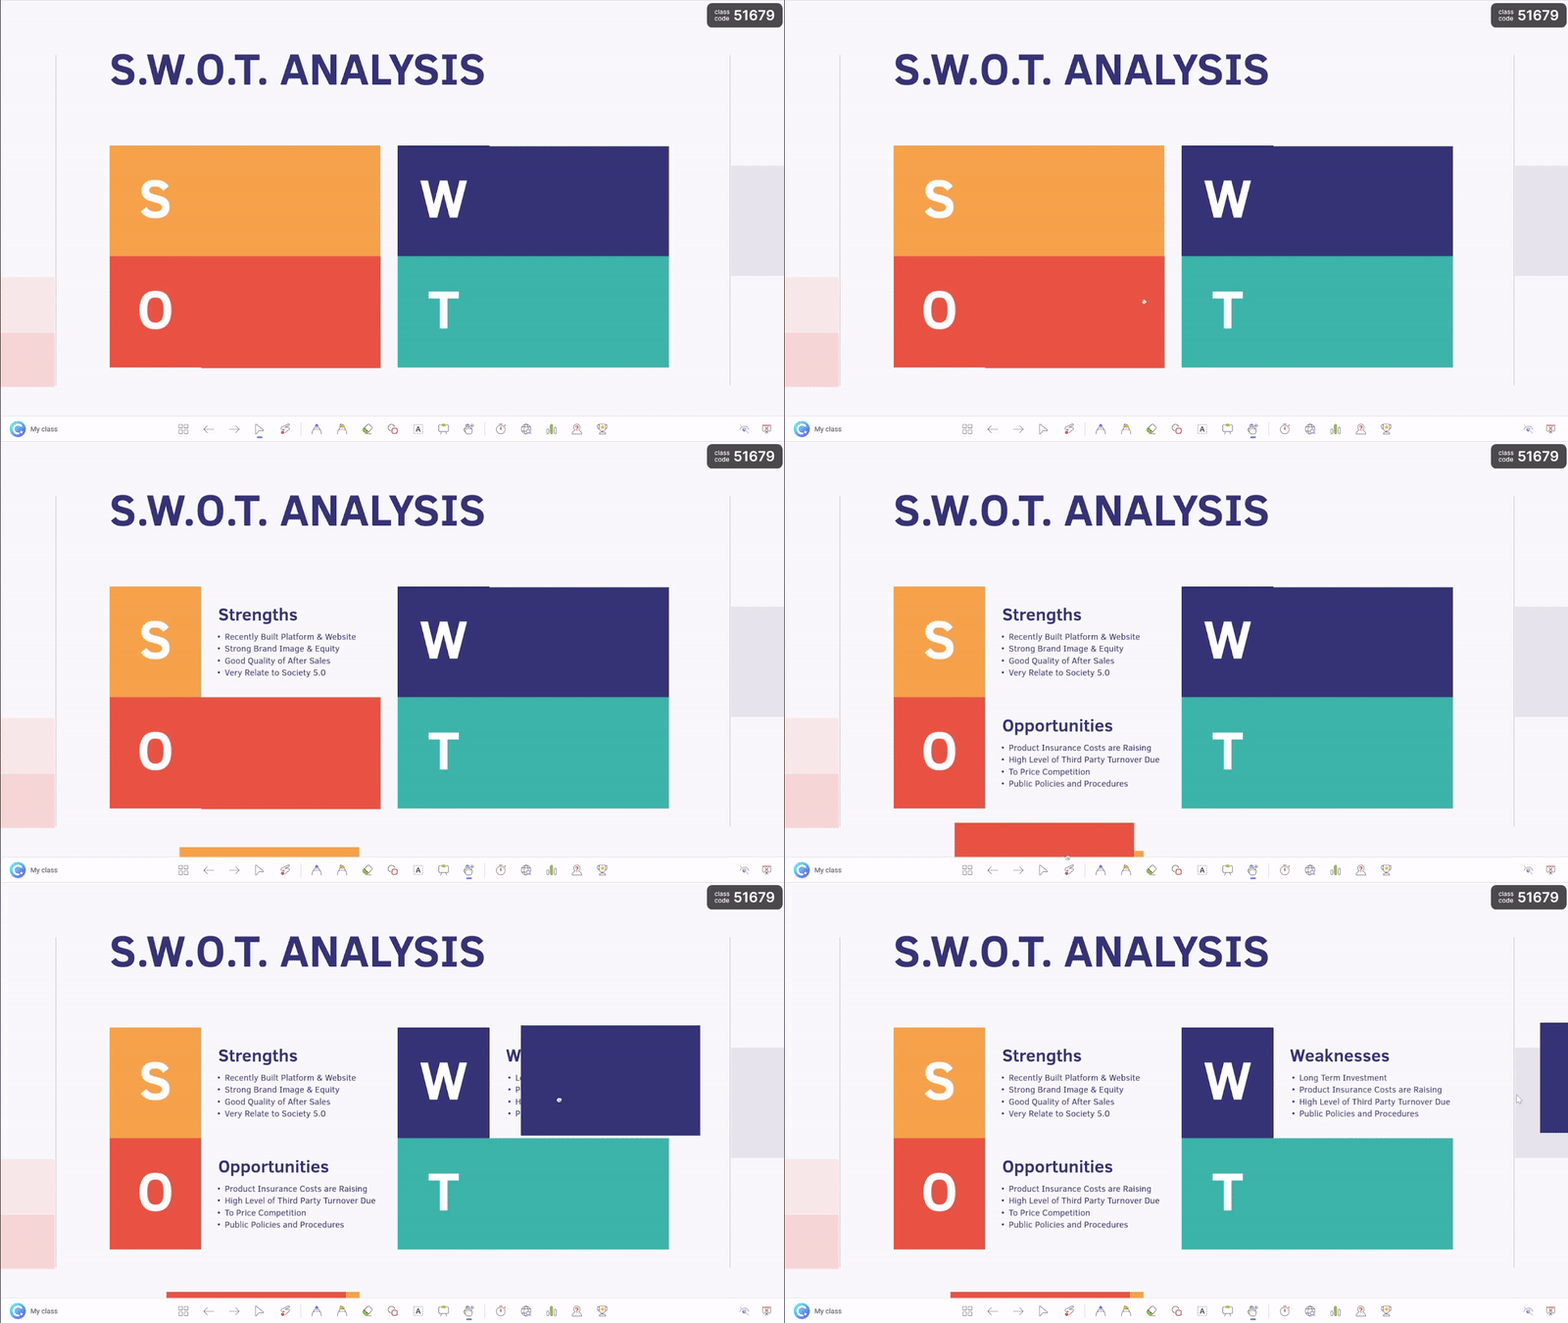
In addition to the three-in-one laser tool, ClassPoint also has a draggable slide object tool that can help further improve your lessons and engagement. Draggable Objects allows presenters to move their slide content around during presentations. So with it, you can add anything to your slide as normal (text, images, shapes) and then ‘drag enable’ them during edit mode. Then during your live presentation you can freely drag those objects around to interact with your teaching material! Use it to sort, order, or reveal information on your slide, or use it creatively to make your slides more interactive and engaging.
That’s it. These are different ways on how to annotate on PowerPoint using ClassPoint.
🎥 Watch how to use ClassPoint's Draggable Objects or 📖 read how to drag slide objects here!
Recommended digital inking devices
Now that you have learned how to annotate on PowerPoint, the next step is to expand your annotation arsenal with our best recommended digital annotation devices and tools!
Interactive whiteboards/displays
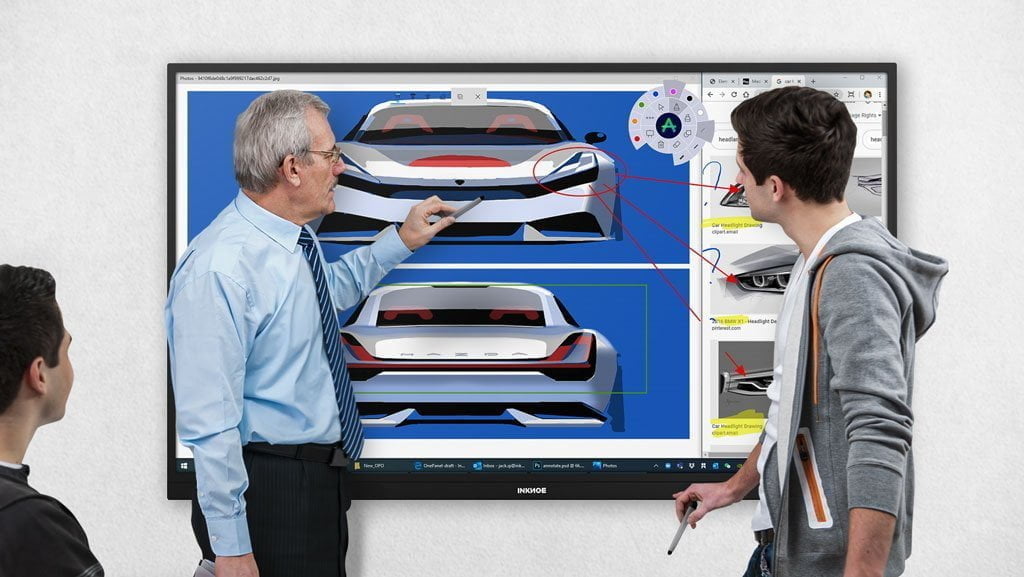
Good news! ClassPoint is compatible with all your existing interactive whiteboards/displays, be it Smartboard, Promethean or INKNOE’s HybridBoard or OnePanel. The experience is seamless: you can use either stylus or just your finger to draw without needing to install any driver. If you are one of our HybridBoard users, you must be using it sometimes as a normal whiteboard too due to its “hybrid” nature.
In general, we recommend you to use interactive whiteboards in larger classrooms where you already have projectors in place, and use interactive displays in smaller settings because LED displays are usually smaller than boards. But the good thing is their display quality and brightness are usually much better than interactive whiteboards.
Interactive presentation podium
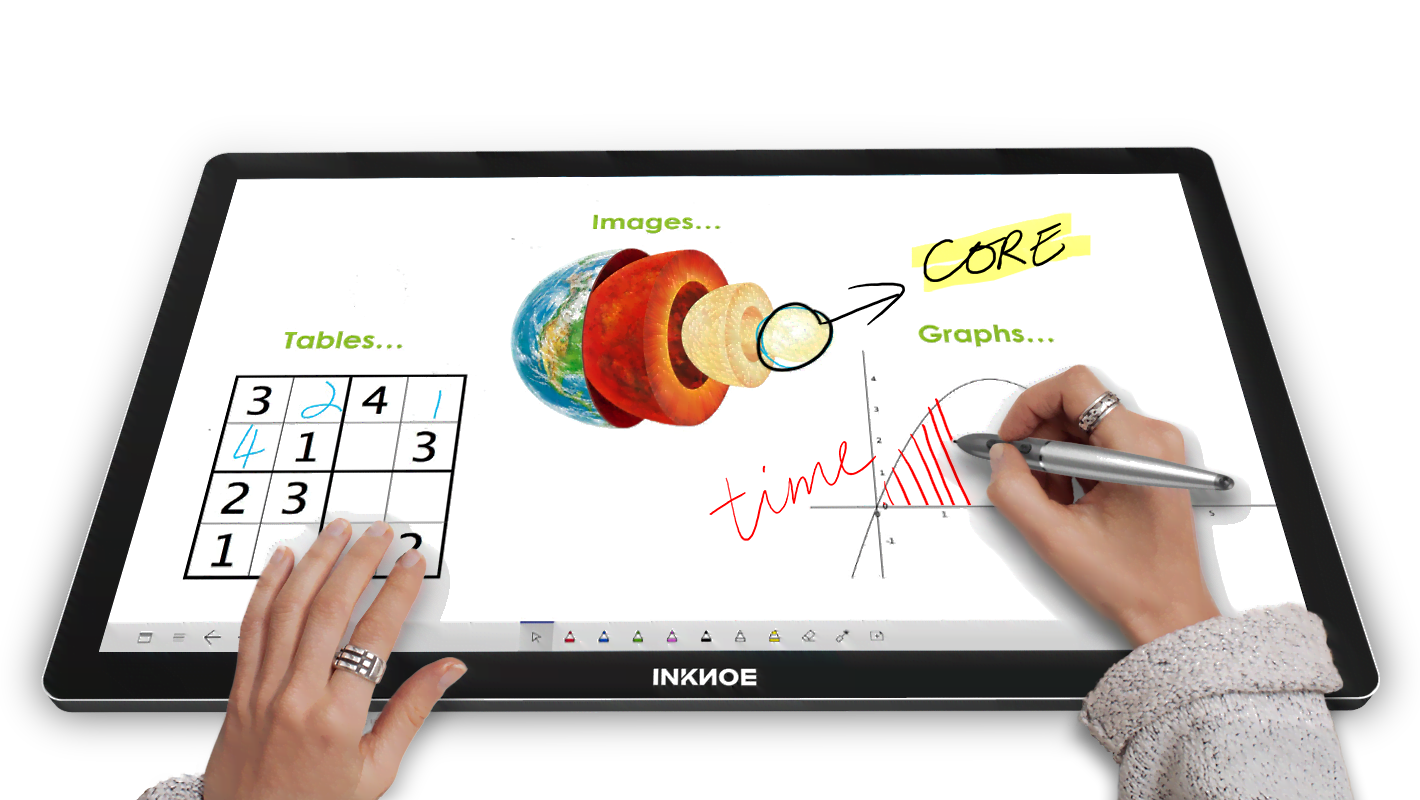
If you are a professor teaching in 200-300 pax lecture halls, interactive whiteboards/displays become useless. In this case, you want to use an interactive presentation podium, which feels like a huge tablet. You can touch control your presentation and draw on it as needed. The podium then will be connected to one or more large projection screens for the whole class to see.
Touchscreen laptops/tablet PCs
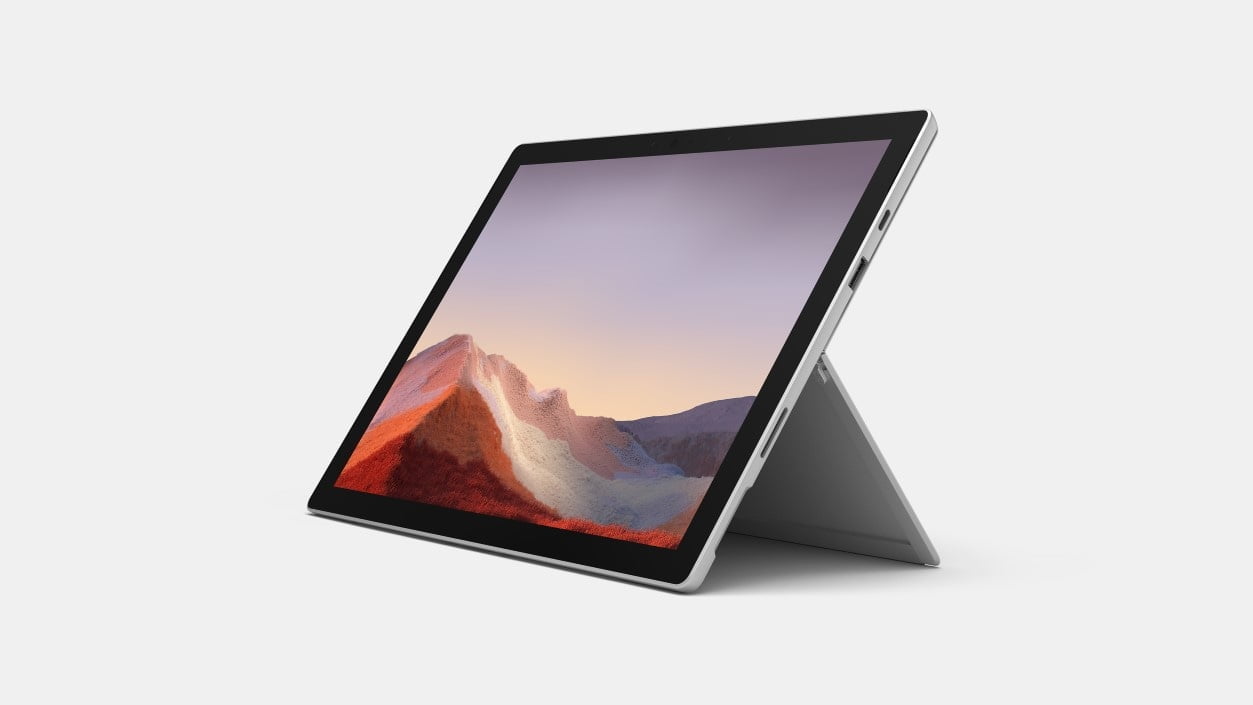
If your classroom is not equipped with any professional interactive devices, use a touchscreen laptop or tablet PC such as Surface Pro can also serve the purpose. We have designed ClassPoint and all our other software applications to be fully compatible with any Windows machines, so be worry-free.
Graphics Tablet
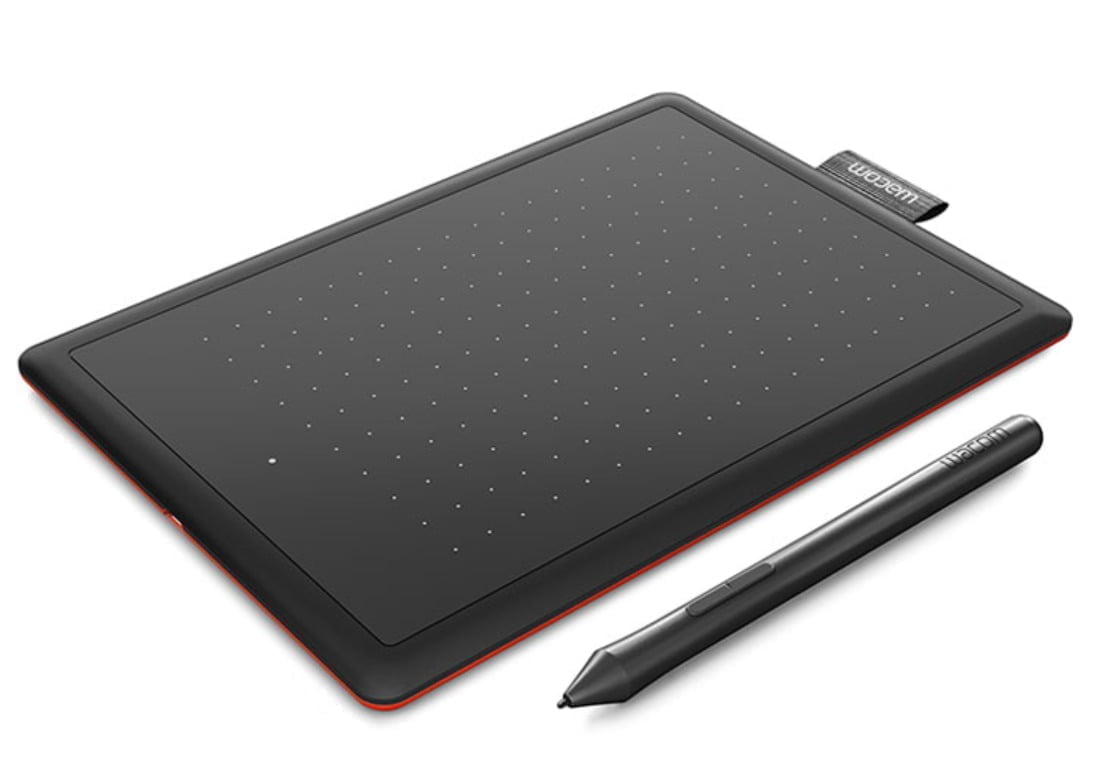
For those of you who are using a non-touchscreen PC, consider using a graphics tablet in addition to your PC. The most popular, the Wacom tablets, allow you to plug in this device to your computer so that you can draw on the screen. This way, you can create and add content to your PPT slides, that you wouldn’t be able to do with a mouse.
Give us your feedback 🙂
We are constantly working on new features/improvements for the whiteboard tool. If you have any feature requests, leave us a comment below!
