Are you looking for a quick and easy way to drag and drop objects in PowerPoint? If so, then you’ve come to the right place! In this blog post, we’ll be exploring how to drag and drop objects in PowerPoint without Macros, VBA coding, or animations! We’ll show you how to use drag and drop in PowerPoint with ClassPoint, a powerful audience engagement tool, as well as provide tips and tricks for getting the most out of the feature. With the help of ClassPoint, you’ll be able to easily and efficiently drag and drop objects in PowerPoint!
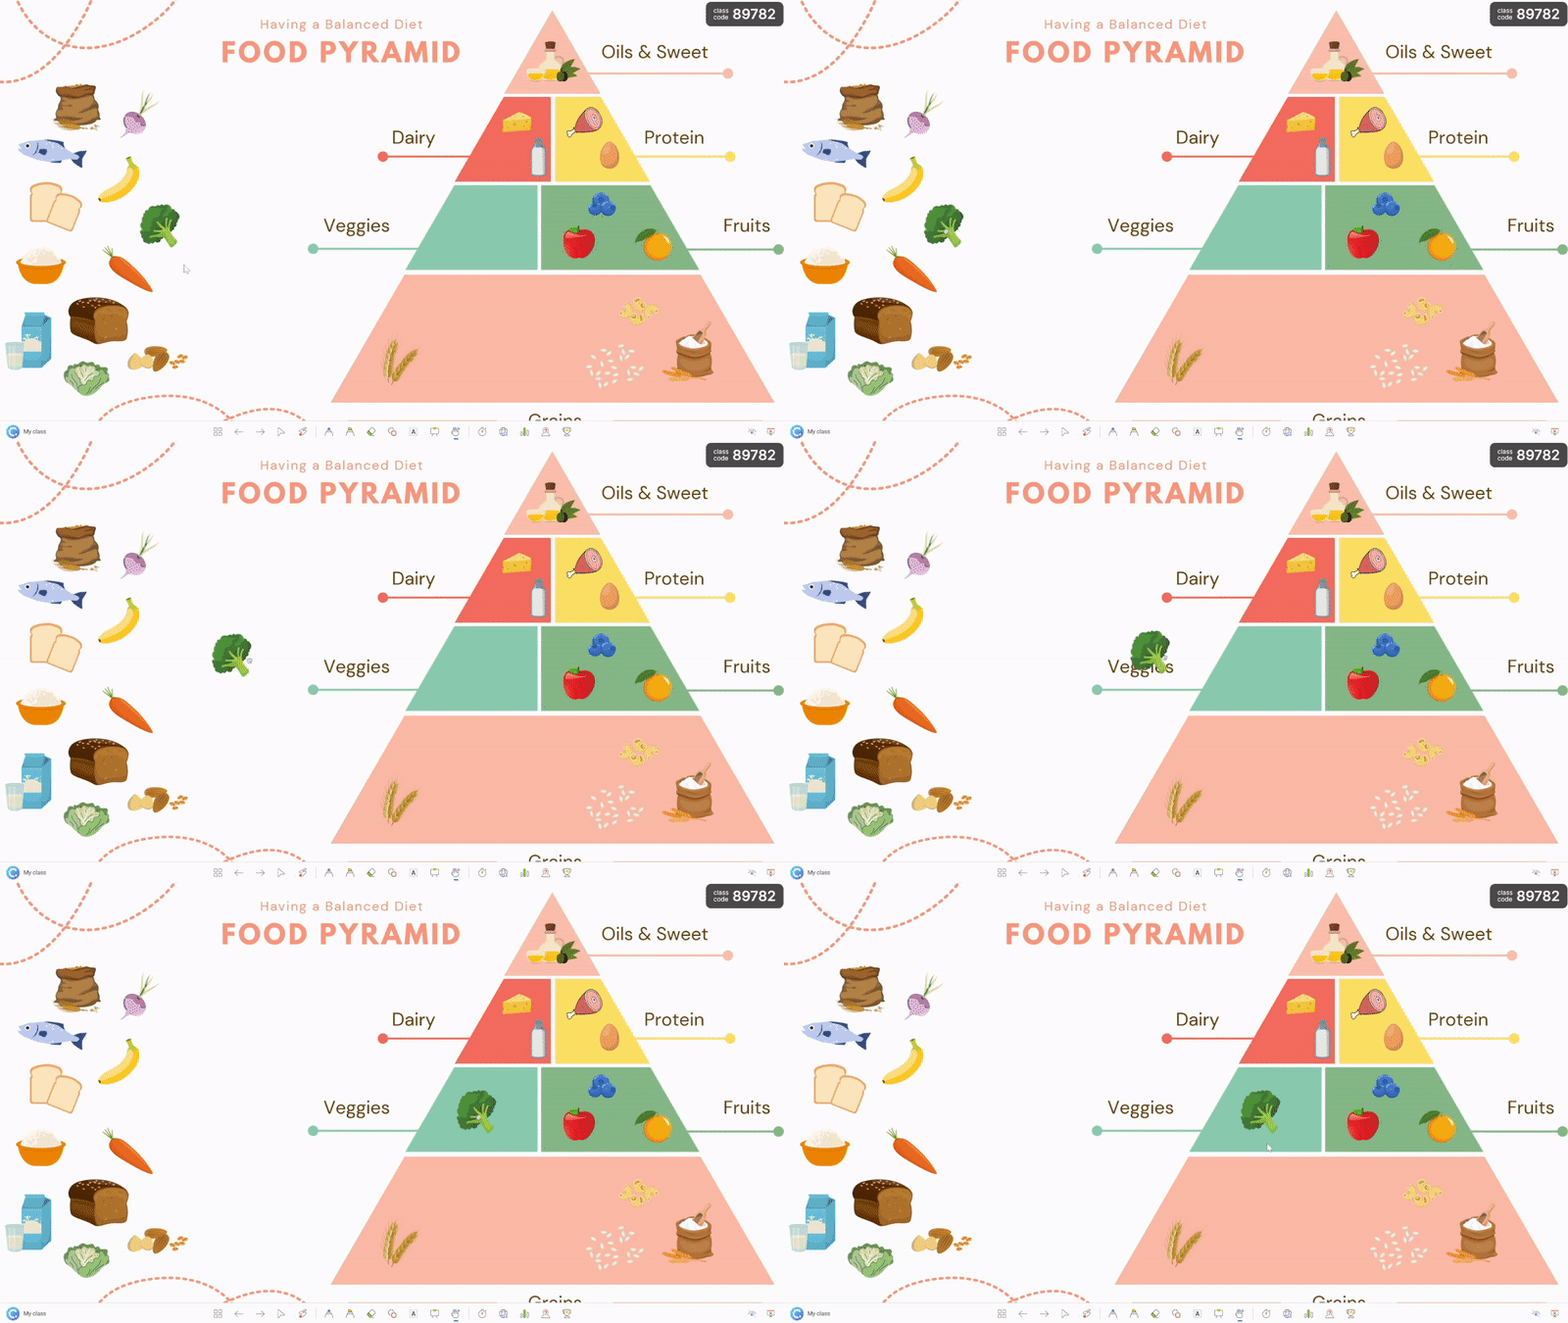
How to drag and drop objects in PowerPoint
Let’s make your slide material interactive using Draggable Objects. You can create your slide with any images, text, shapes, etc, and make any of the elements movable. Then using the ClassPoint, a Microsoft PowerPoint add-in, you can enable them to be dragged with the switch of a toggle. And just like that you’ll be able to freely drag and drop objects during PowerPoint presentations adding dynamic visuals and a fresh feel to your session.
So, how do you create drag and drop objects on your slide? Once you add ClassPoint (it’s free!) to your PowerPoint ribbon, it’s really as simple as a few clicks, but let’s breakdown the three steps in detail! Here’s how:
Step 1: Create your slide material
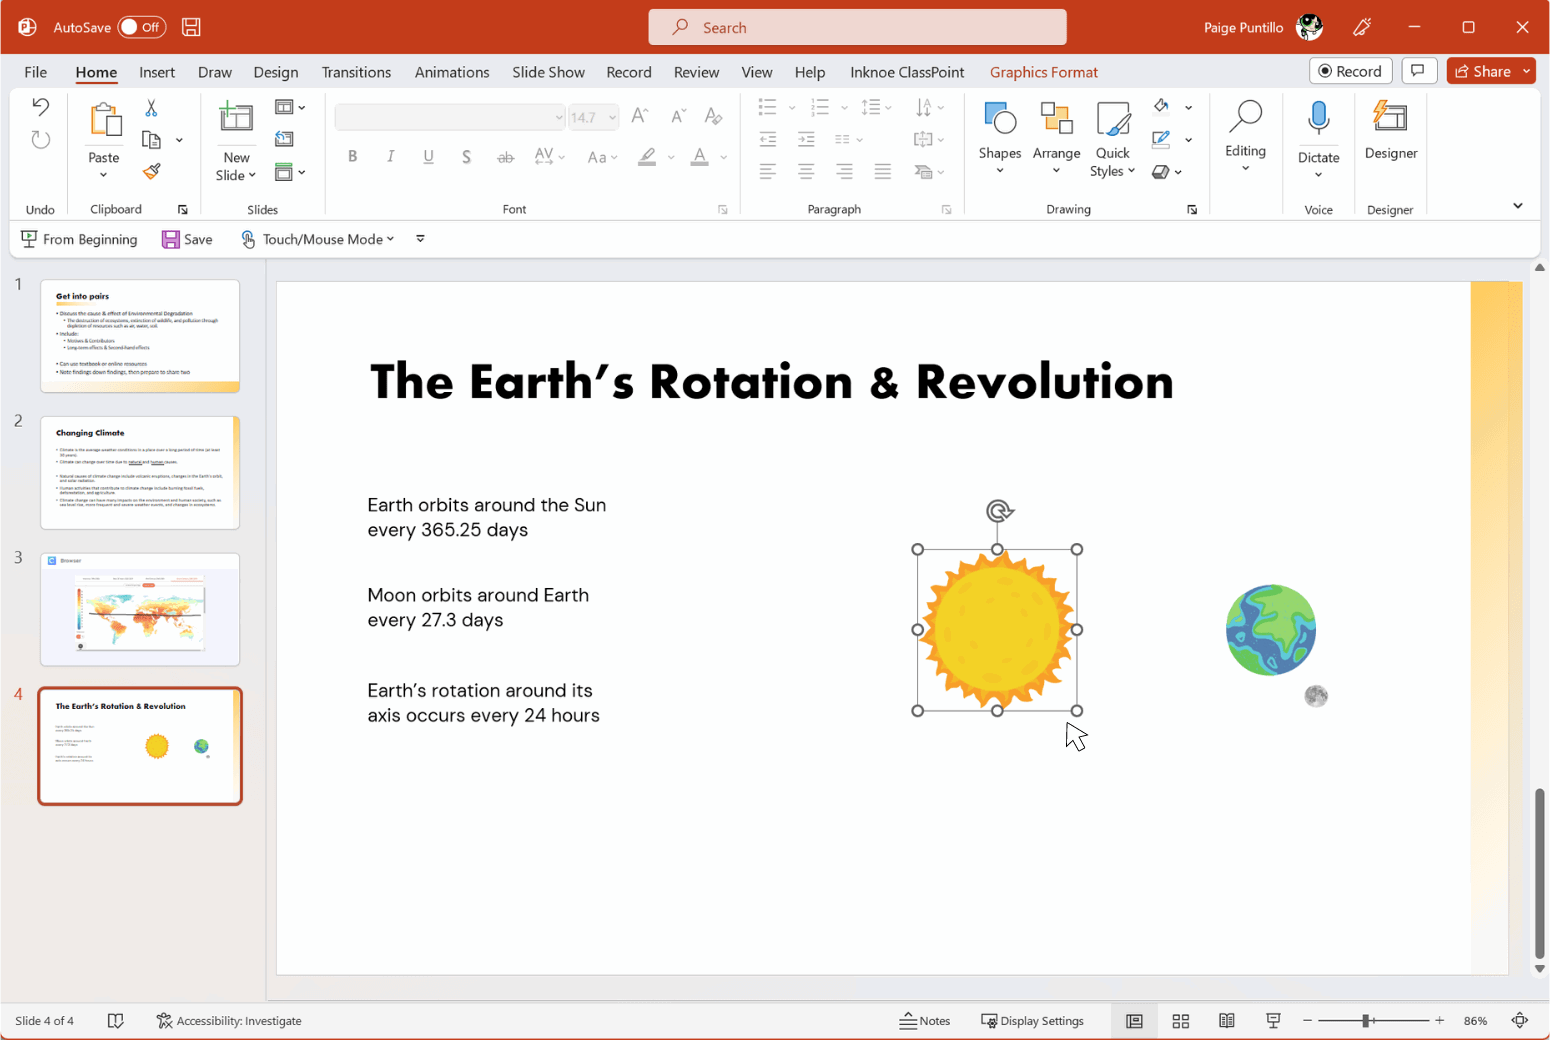
First, create your slide & slide elements you’d like to present, or open any existing deck you have. When creating your slide content, be sure to include any objects you want to be able to drag and drop such as text, images, shapes, icons, etc.
Step 2: Drag Enable your selected objects
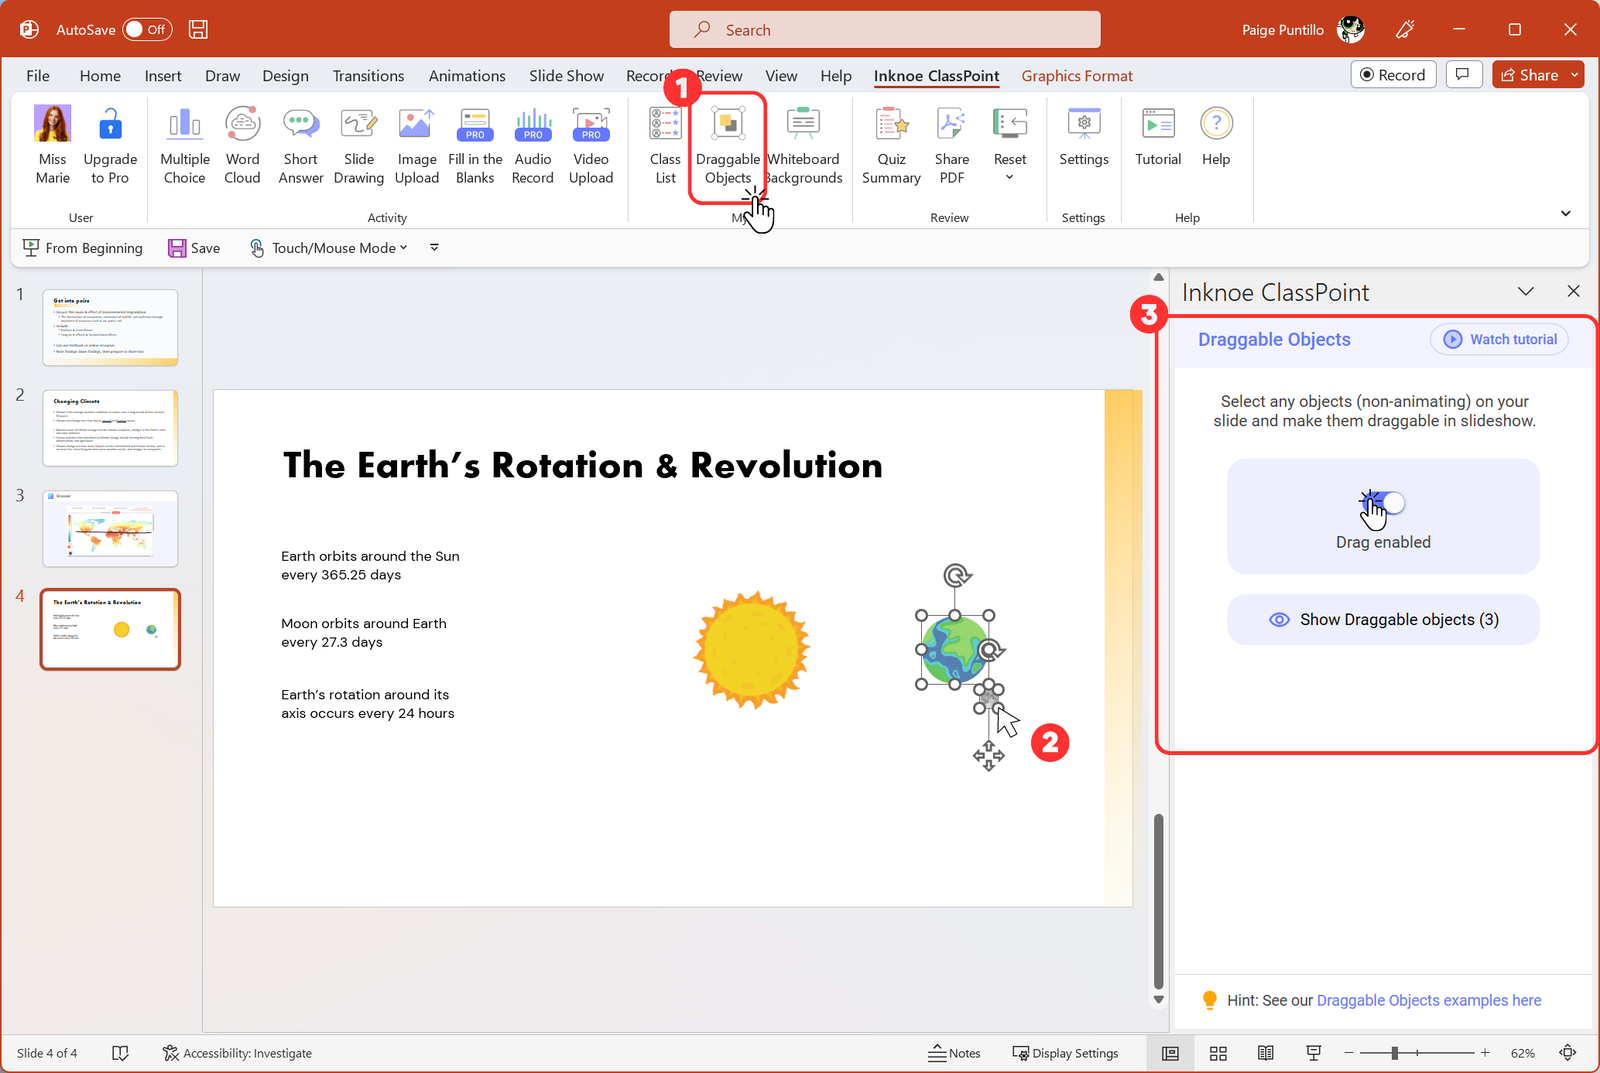
Click Draggable Objects from the ClassPoint tab in the PowerPoint ribbon. This will open up the Draggable Objects side panel on the right. Then, select the objects on your slide that you’d like to freely move around. Once selected, toggle on “Drag enabled” from the side panel. Now your objects are draggable!
Step 3: Freely drag and drop objects during PowerPoint presentations
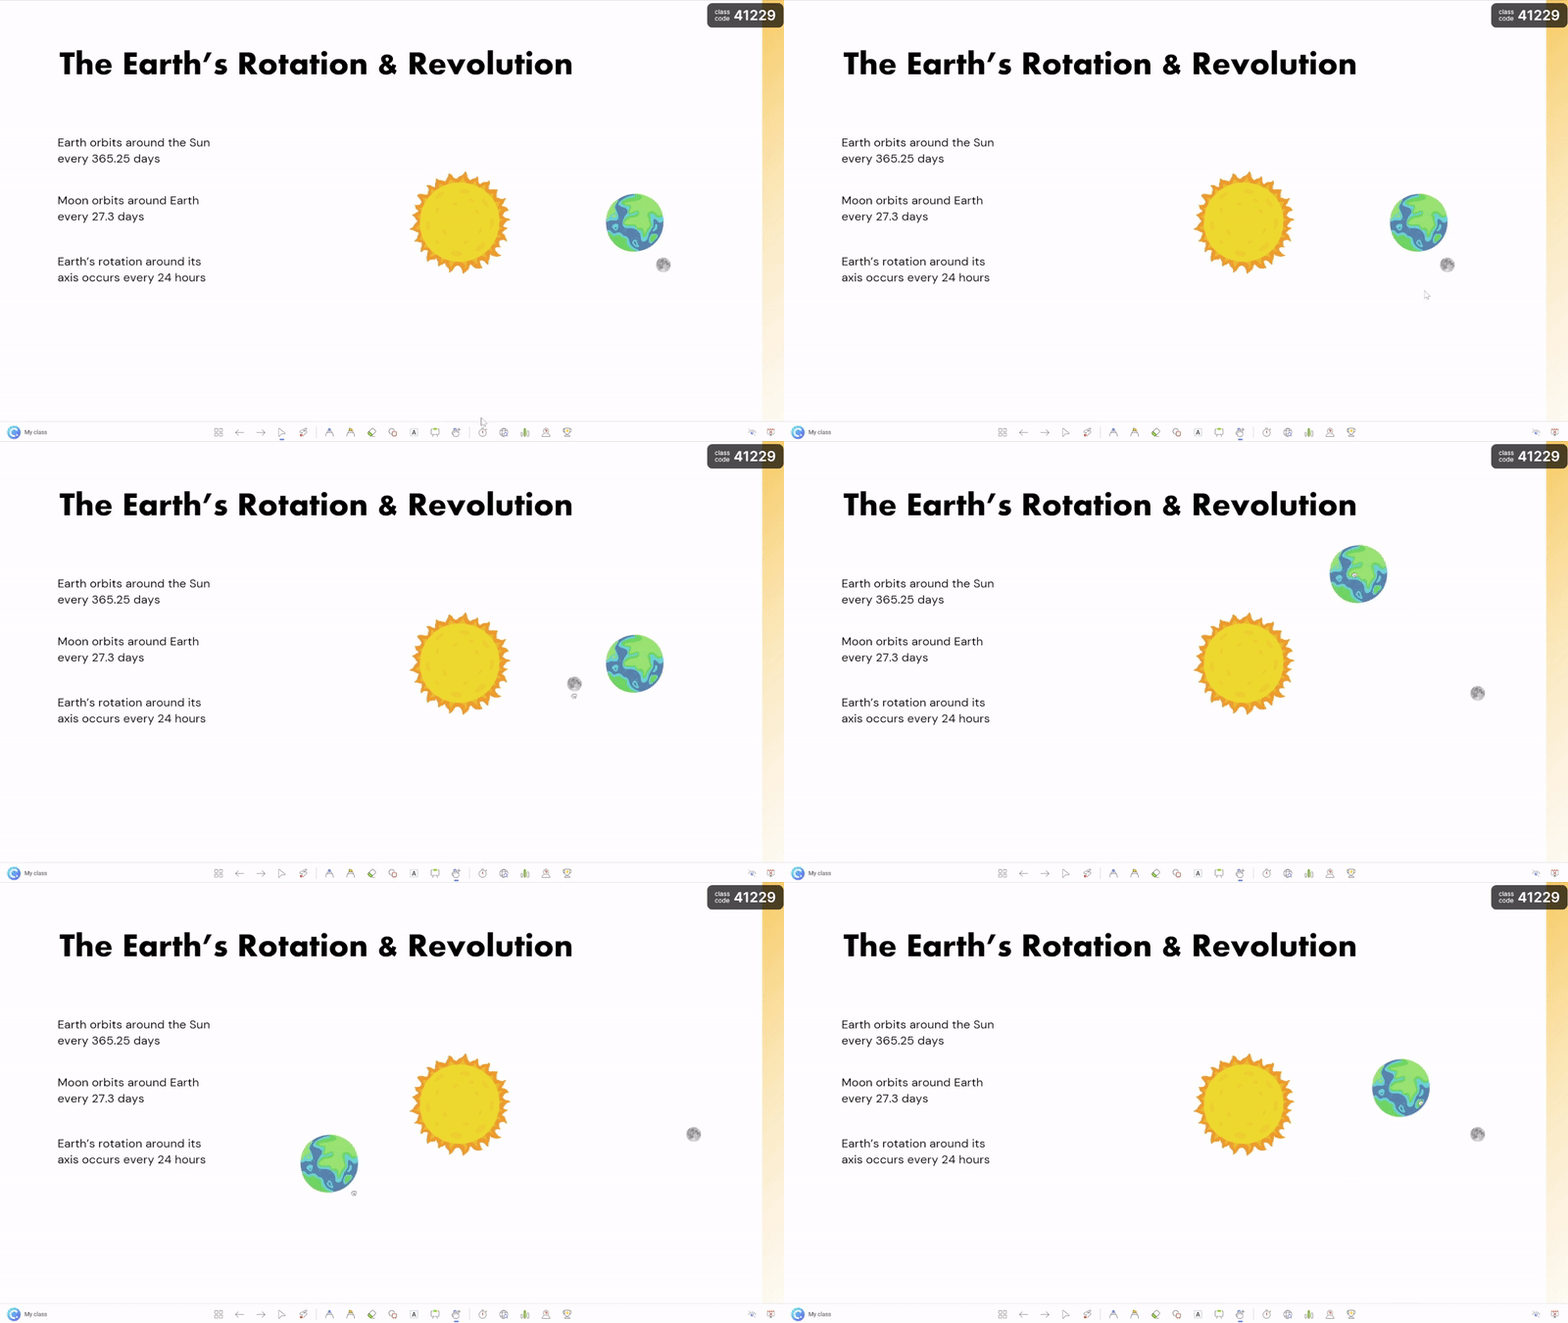
Once you are presenting live in slide show mode, and you reach a slide with drag enabled objects, click on the Draggable Objects hand from the toolbar. Now, you’re free to move around the objects you’ve chosen as draggable! You can move and rearrange them on the slide however you’d like—this allows for a more interactive presentation and helps keep your audience engaged.
Note: Objects that are draggable are indicated with a quick & disappearing blue boarder when you first reach the slide or click on the Draggable Objects hand to remind you that they’re there!
Once you’ve gotten the hang of using drag and drop objects in PowerPoint, you’ll be able to add interesting visuals to your presentations with ease! It’s important to note, that with ClassPoint, Draggable Objects turns the presenter slide into an interactive slide, and it’s not an individual student activity. But drag & drop in PowerPoint is a fun and easy way to make your slides dynamic and keep your audience engaged.
Ways to use Drag and Drop in PowerPoint
There are many ways to use drag and drop in PowerPoint as a class! To learn more about ways to use drag and drop as a class activity, check out these 8 ways! A few include:
1. Enhance visual aids
By using moveable slide materials, teachers can create interactive presentations and drag objects to help help emphasize an important point or concept. Teachers can add images, information, and other media elements to drag and move during presentations to make the material more engaging and easier to understand, which can improve their overall learning experience
2. Reveal hidden information manually
Teachers can drag and drop objects during PowerPoint presentations to reveal hidden information and create interactive learning material. For example, they can add a shape or picture layer on top of key piece of information, subject answers, etc, that they can drag to uncover live as a class. Drag to reveal can create excitement, anticipation, and a more actively involved audience in the learning process, which can help students better retain information.
3. Sort lesson material
Drag and drop in PowerPoint can also be used to help students in the learning process by visually sorting information. For example, teachers can create an activity where as a class, the students can help sort pictures of different types of animals into groups based on their habitats or sort words into categories based on their meanings. Doing it together as a class can help reinforce the concept and ignite memory.
4. Vocabulary building through matching
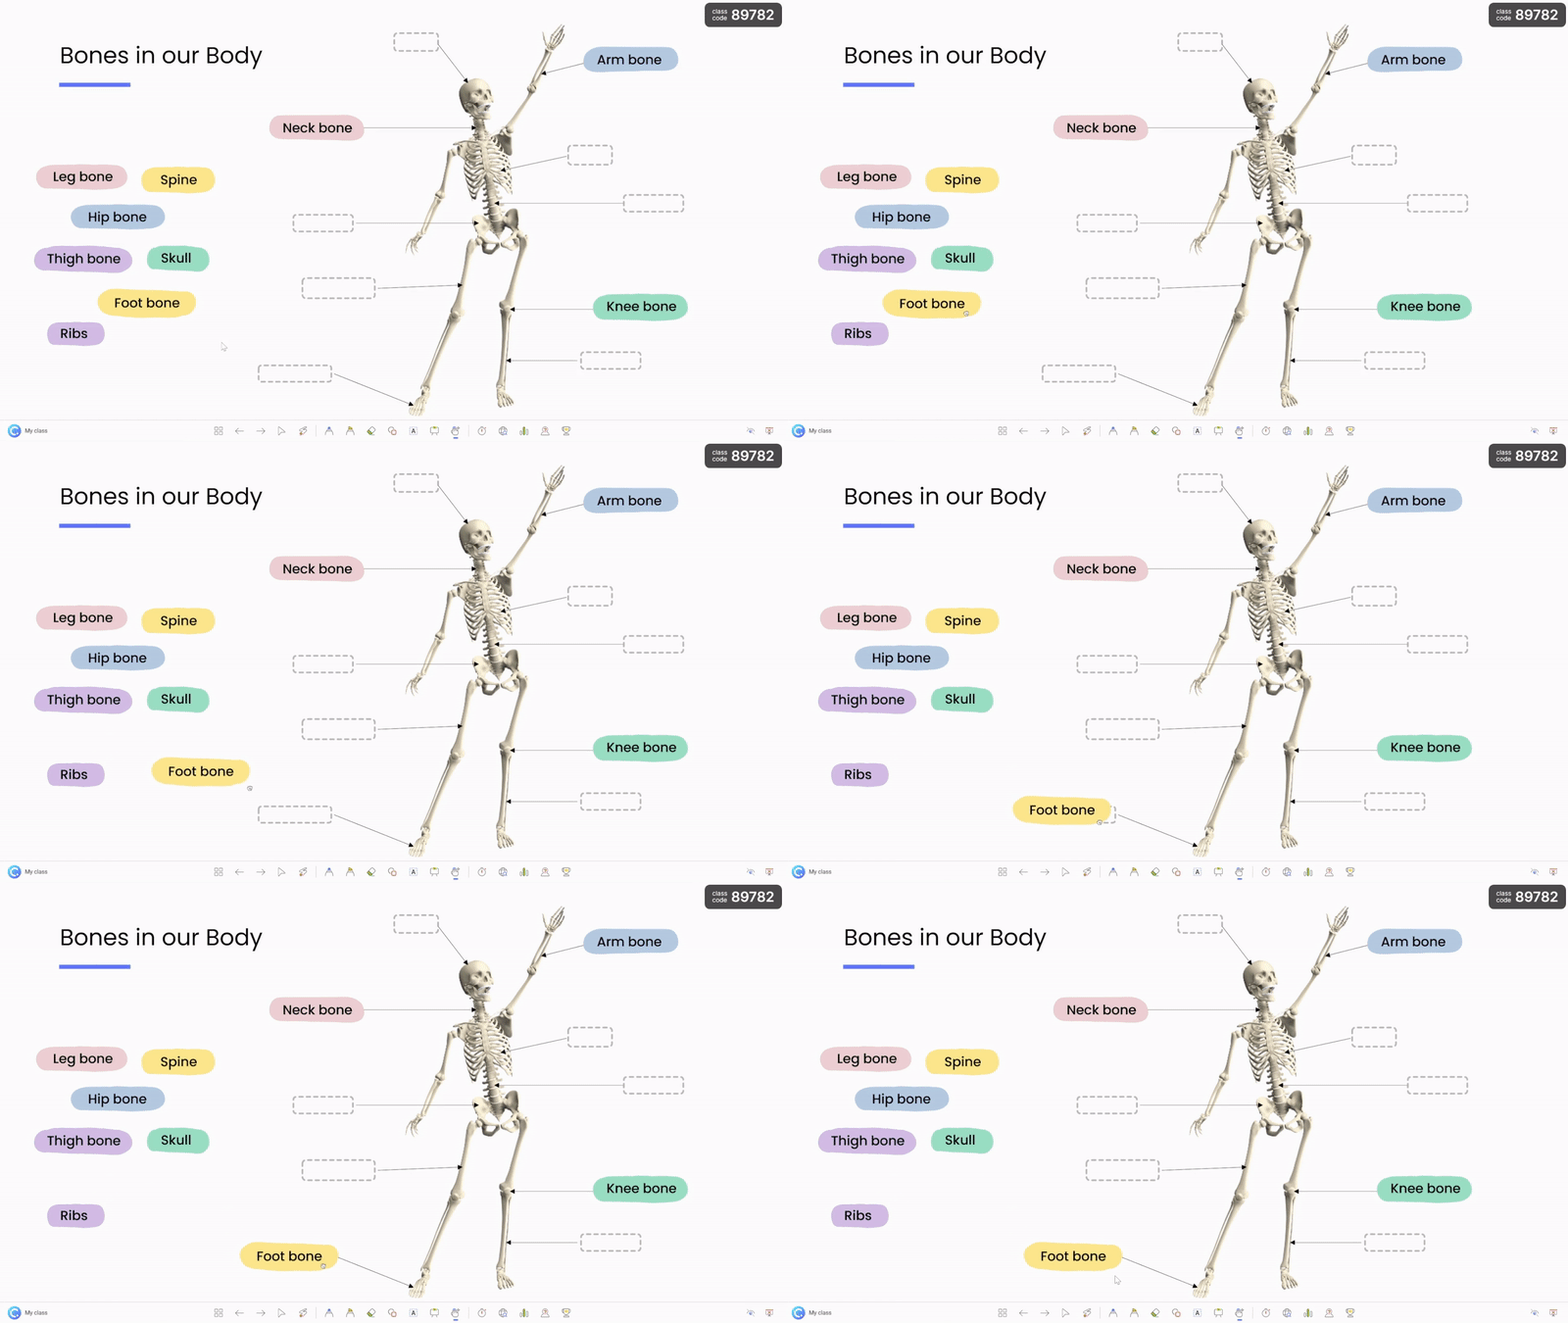
Turn your slide into a drag and drop activity to help students learn and practice new vocabulary. For example, teachers can create a slide activity to go over at the end of a lesson and ask students to match words with their definitions by dragging them in the correct places. If teachers have a smart board, students can come up to the board and rearrange the vocab word themselves. This use of interactive, hands-on-learning can help improve learning and boost attentiveness.
5. Sequencing order of events
Drag and drop objects during PowerPoint presentations can be used to help students understand the sequence of events or concepts in a lesson by dragging & dropping slide items into chronological order. For example, teachers can create an activity where students drag and drop images or text into the correct order to show the steps of a process or event.
Pro tip: Use ClassPoint’s Name Picker also added to PowerPoint to randomly select students to participate! Once, students are picked, you can keep their names out of the draw, so each student can get a chance.
Conclusion
In conclusion, drag and drop in PowerPoint is a powerful feature that can greatly enhance your presentations. With the help of ClassPoint, you can easily transform your slide elements into draggable objects and interact with your material in an interactive and engaging way. Whether you’re a teacher looking to improve your lessons or a business professional looking to spice up your presentations, drag and drop in PowerPoint is a tool that you won’t want to miss. So, give it a try and see how your audience responds!

