
If you think the only way to make your slides engaging is by relying solely on animations, think again.
With ClassPoint, you can transform even the most traditional slides into interactive learning experiences that truly engage students.
One particular way is to create matching activities in PowerPoint. Whether you’re teaching vocabulary, science, history, or any subject that involves pairing concepts, these tools help reinforce learning in a dynamic and impactful way.
Skip the overcomplicated PowerPoint tricks. In this blog, I’ll teach you how to make your PowerPoint playable with just one powerful add-in.
Read on to learn about how to create engaging matching activities in PowerPoint using two creative methods: Fill in the Blanks (for typed answers) and Slide Drawing (for drawing connections).
Why Use Matching Activities?

Matching activities are a favorite among both students and teachers because they make learning more engaging, interactive, and memorable. Instead of passively absorbing information, students actively connect concepts, improving recall and comprehension.
These activities encourage critical thinking, helping students analyze relationships between different ideas rather than simply memorizing facts.
For teachers, matching exercises offer a quick and effective way to assess understanding. They work well for formative assessments, reviews, and even warm-up activities. Plus, they can be adapted to fit different learning styles—whether through text-based matching or visual connections.
By adding matching activities in PowerPoint you can transform ordinary presentations into dynamic learning experiences. Interactive PowerPoint activities allow students to actively participate in the lesson rather than just watching, making learning more effective and enjoyable.
Check out our guide (plus, a playbook) on How to Make an Interactive PowerPoint Presentation!
How to Get Started with ClassPoint

ClassPoint is an interactive teaching add-in for PowerPoint that allows educators to engage students directly from their slides. It enhances presentations by adding interactive quizzes, annotation tools, and gamification elements.
You can download and install it for free at the official ClassPoint website before creating your matching activities in PowerPoint.
How to Create Matching Activities in PowerPoint with ClassPoint
Method 1: Fill in the Blanks for Typed Matching Answers
If you prefer students to type their answers instead of drawing, Fill in the Blanks is a great way to create a matching activity.
Step 1: Create Your Slide
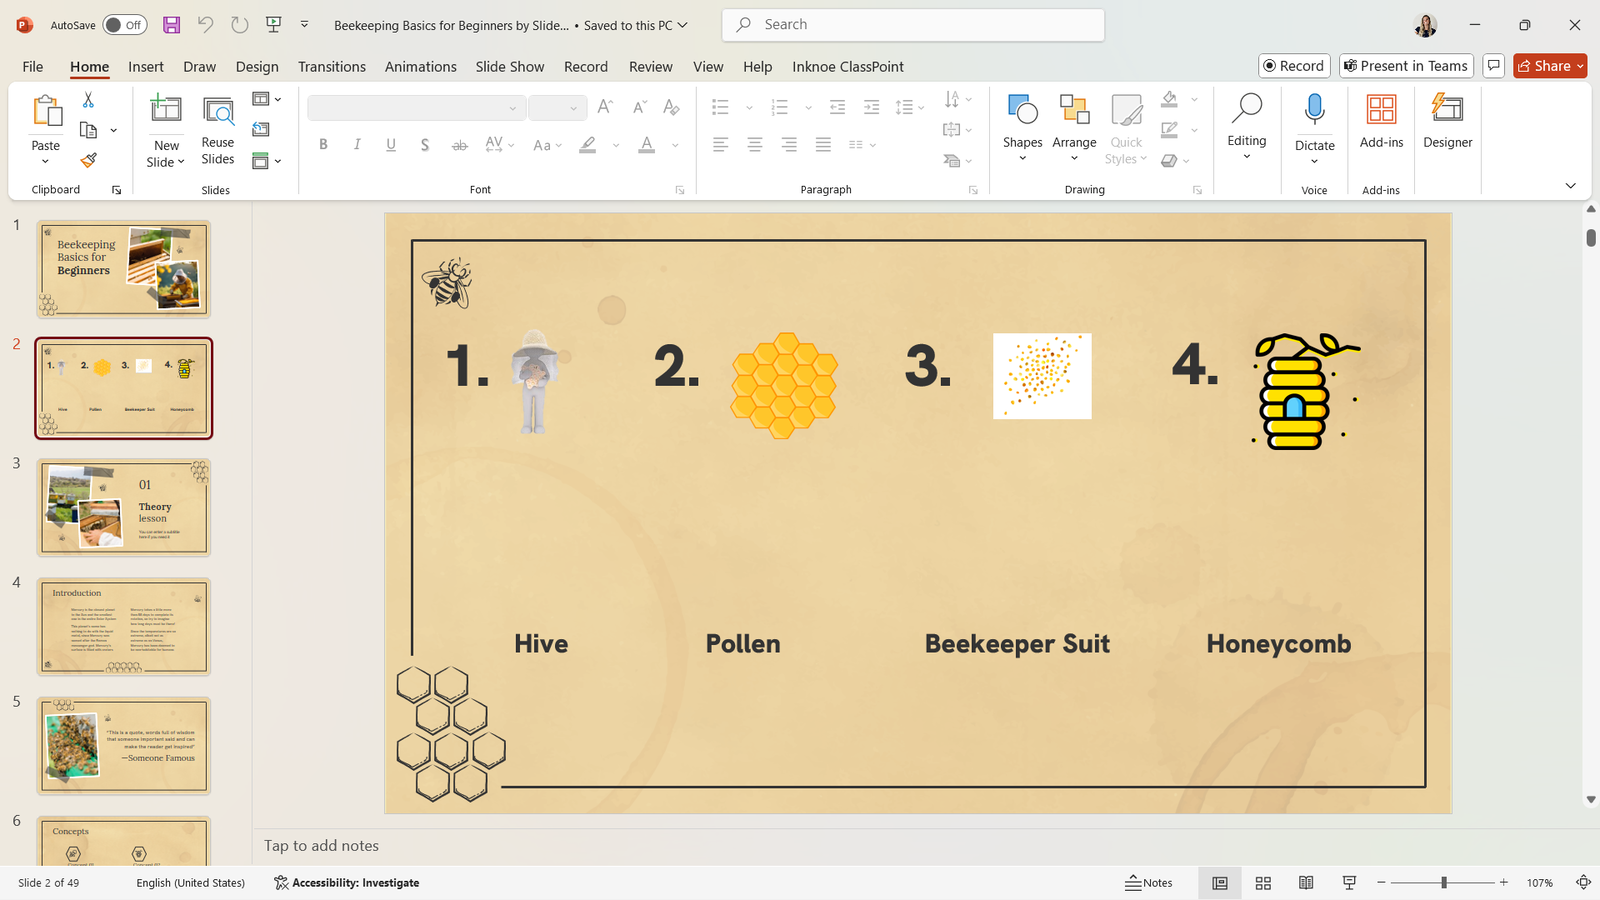
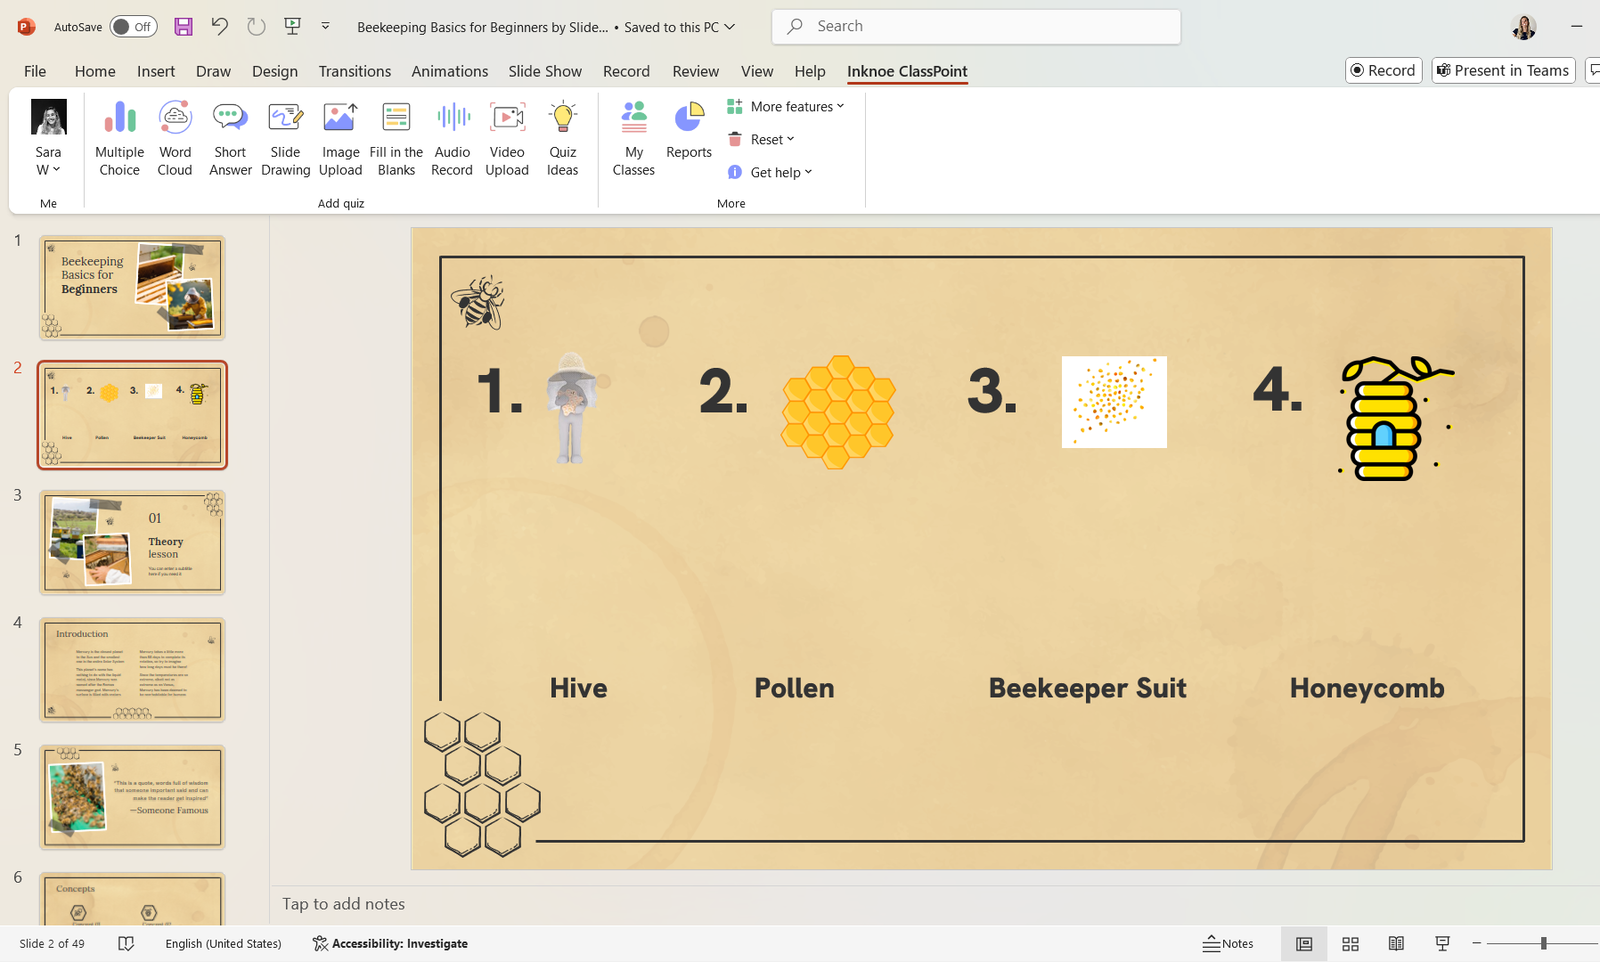
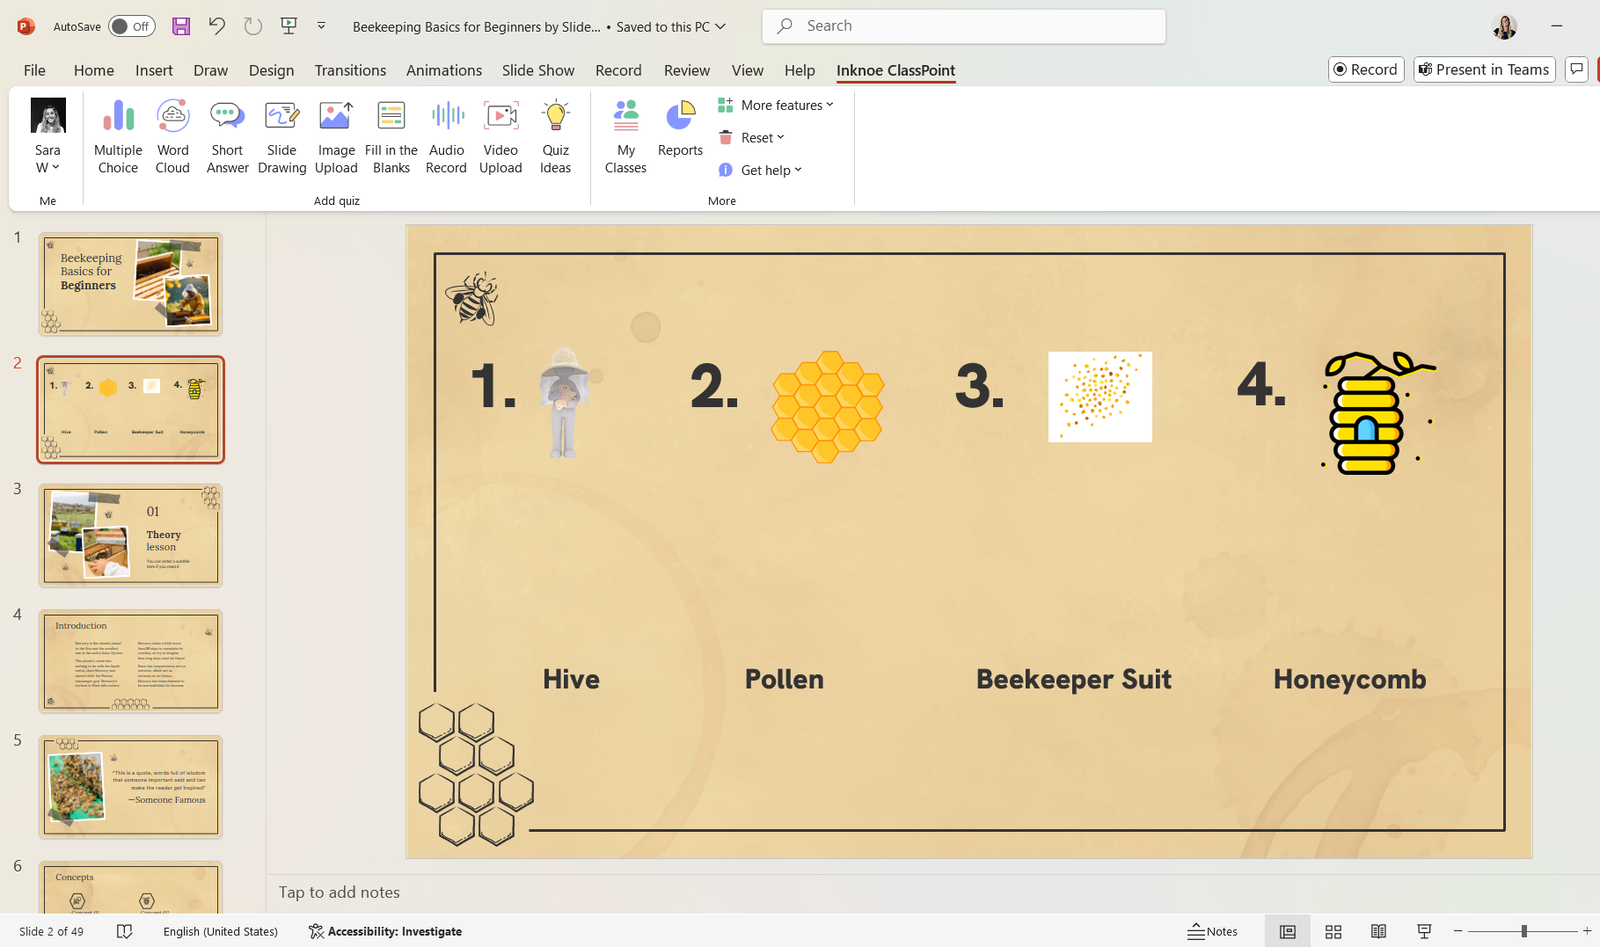
Add a list of words and images or two columns of words (a maximum of five pairs for readability) for your students to match.
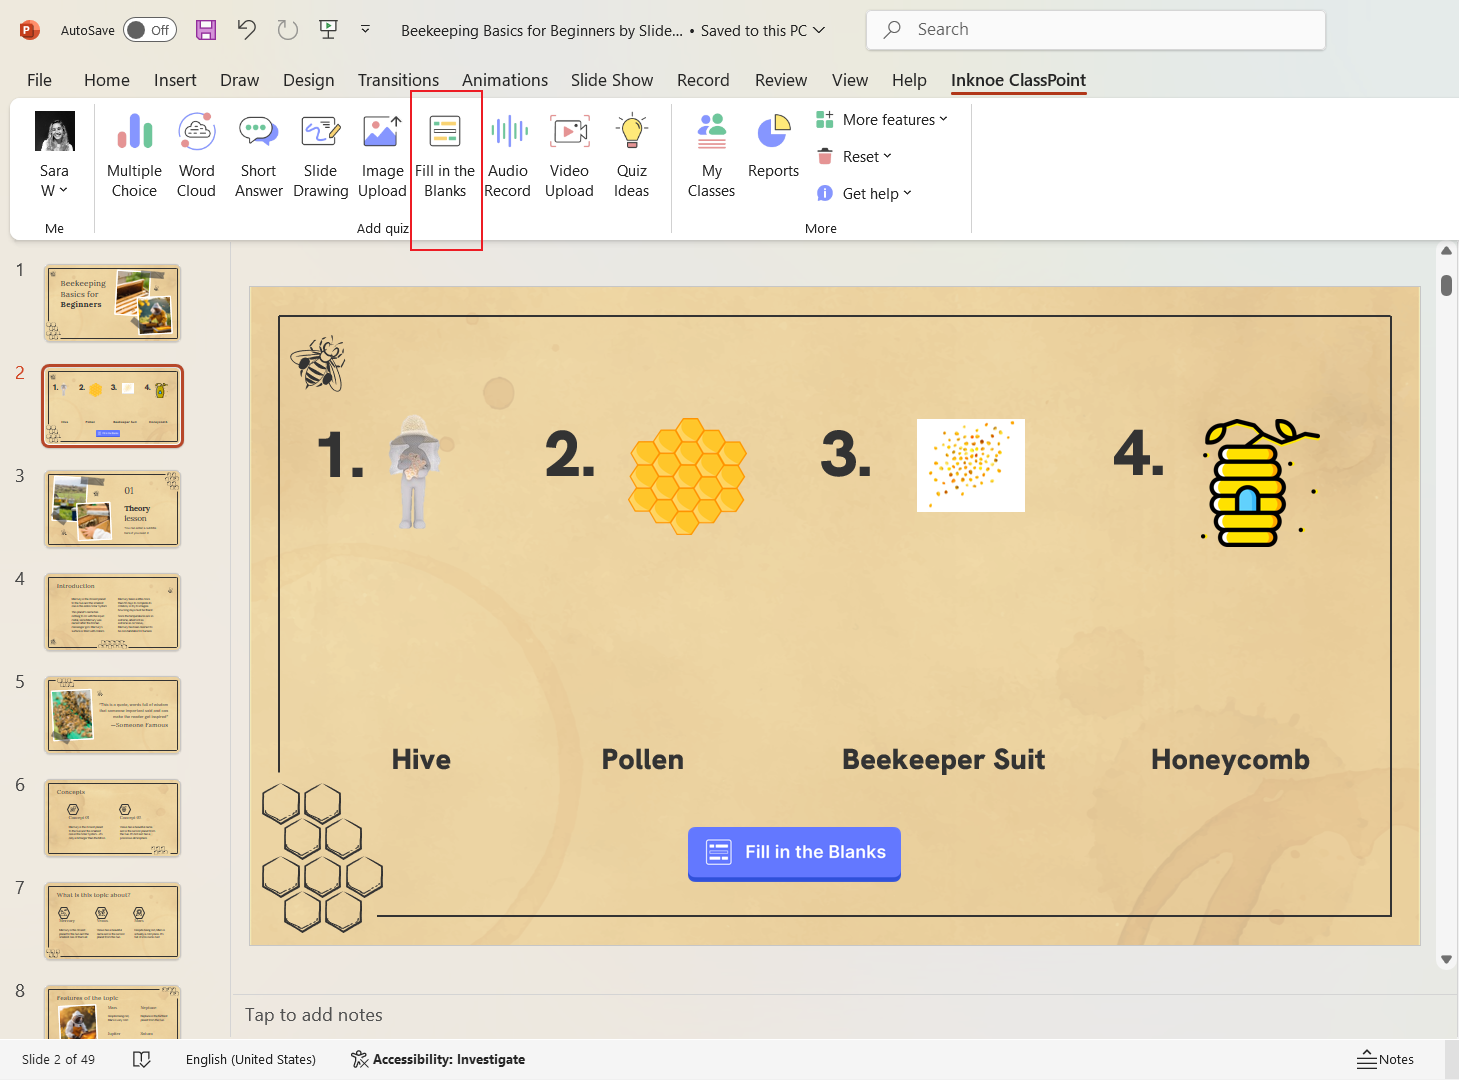
Step 2: Add the Fill in the Blanks Button
Navigate to the ClassPoint tab in the PowerPoint ribbon. Click on the Fill in the Blanks icon to add the interactive button on your slide.
Step 3: Customize the Settings
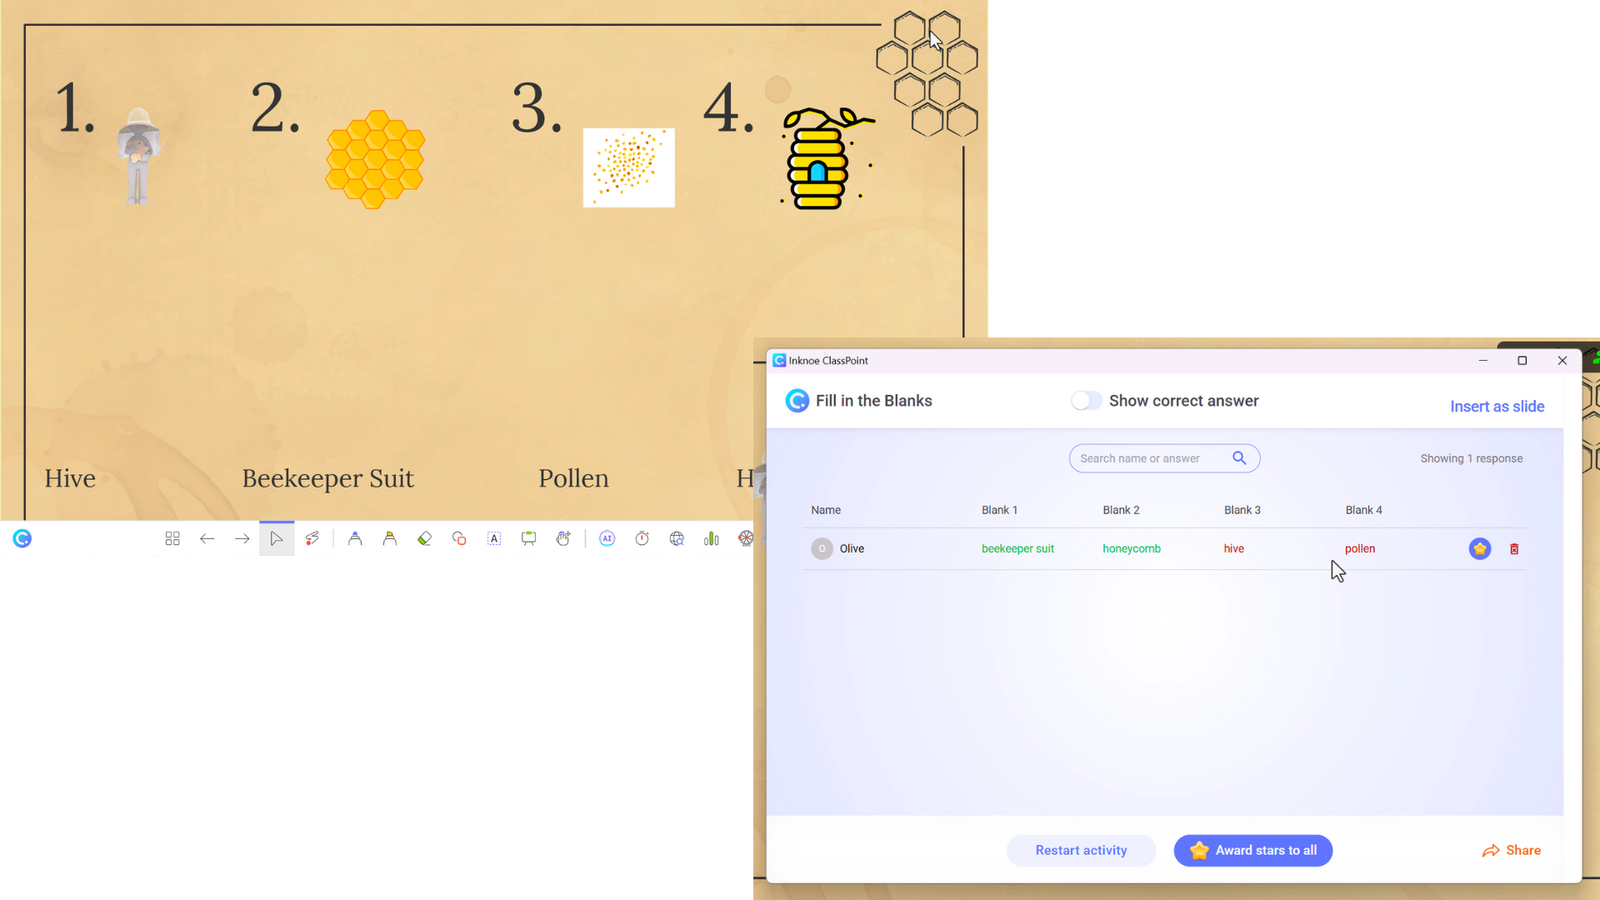
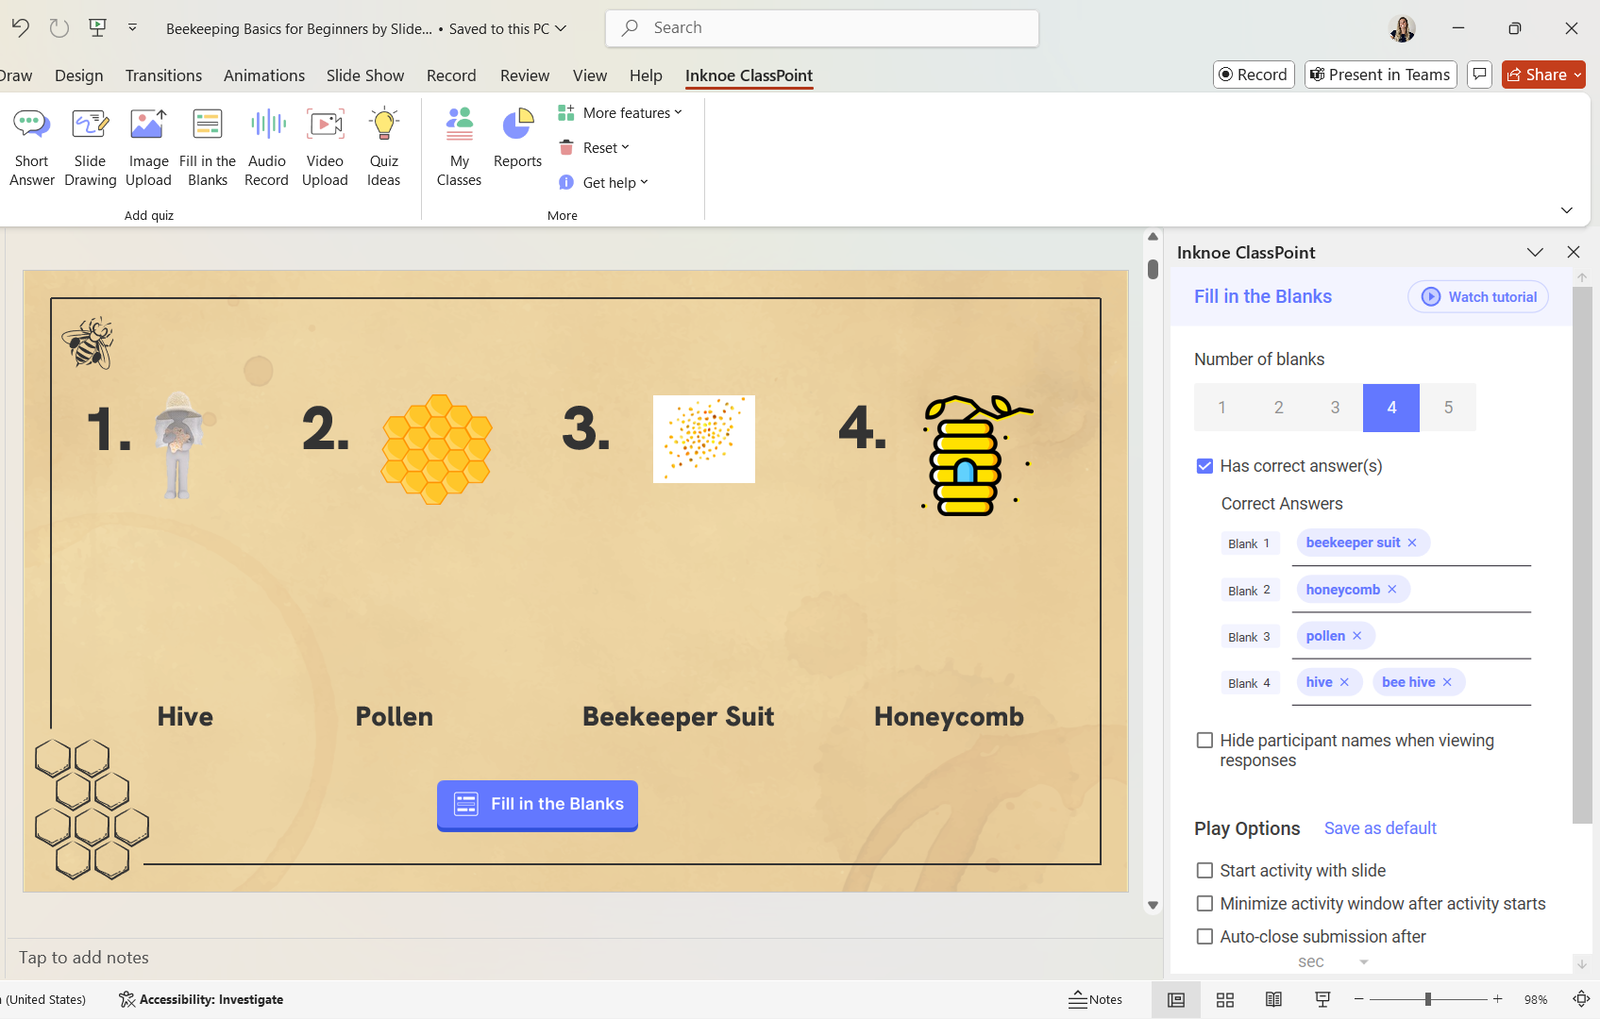
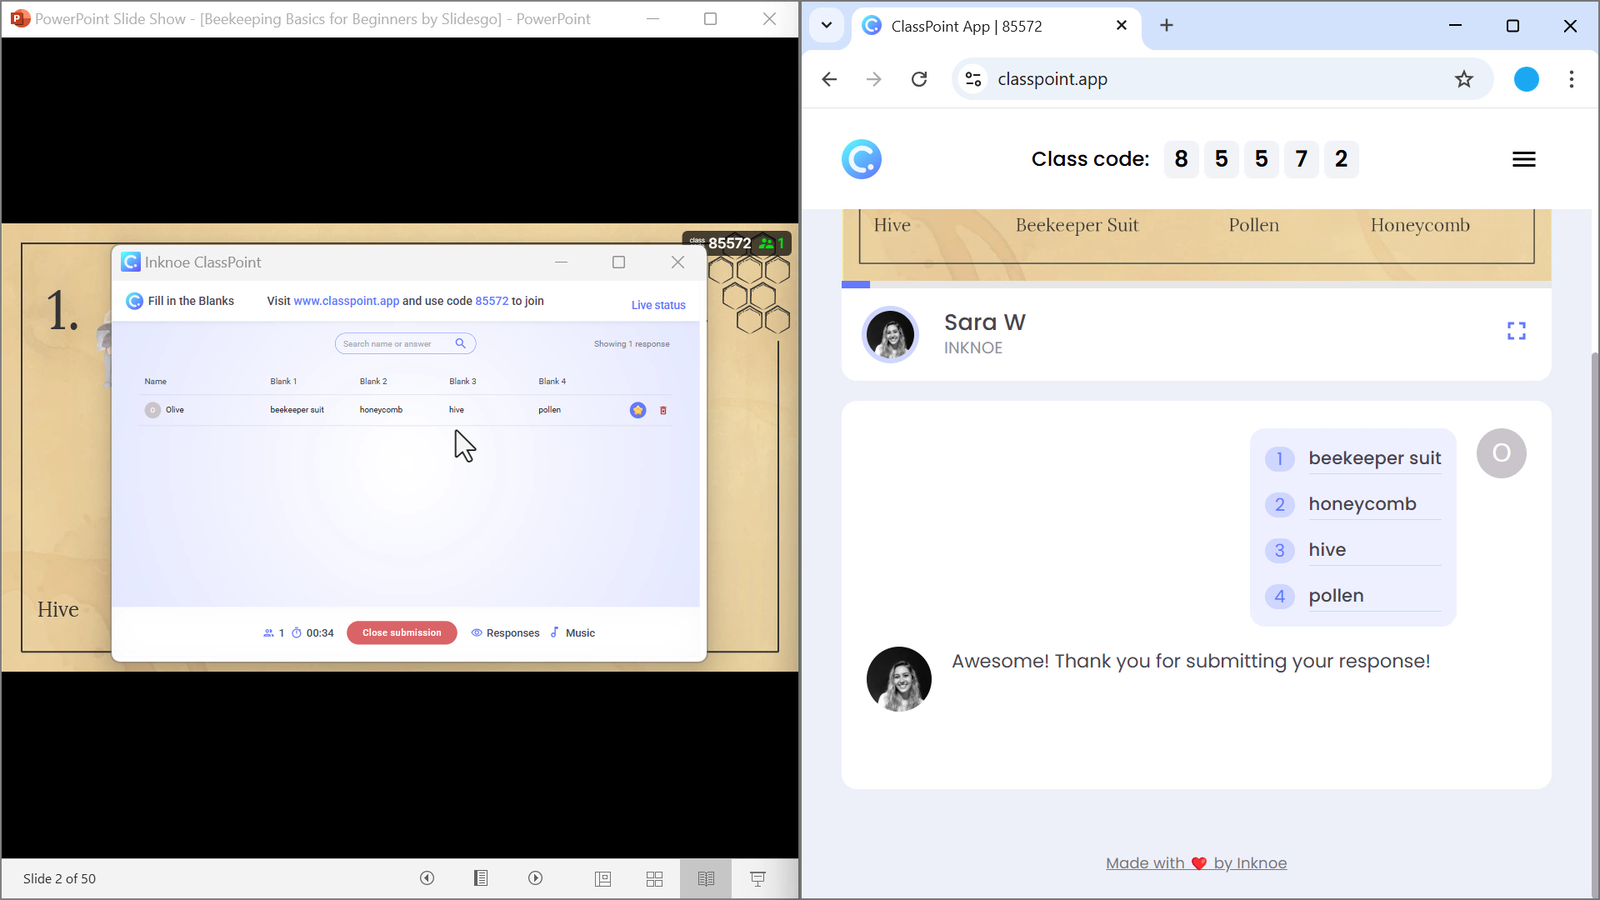
In the ClassPoint side panel that appears on the right, ensure the number of blanks matches the number of pairs on your slide. For this example, we have 4 pairs to match, so our number of Blanks is 4.
Then, add the correct answers for each blank so students (and you) can quickly see their results after they submit.
Step 4: Test Your Activity
Join your ClassPoint class from a phone or a secondary device. Go to classpoint.app and type in the class code in the top right corner and then your name.
To try out the question, click the Fill in the Blanks button to begin receiving responses.
Those who joined can now type their responses to match the words to the images correctly.
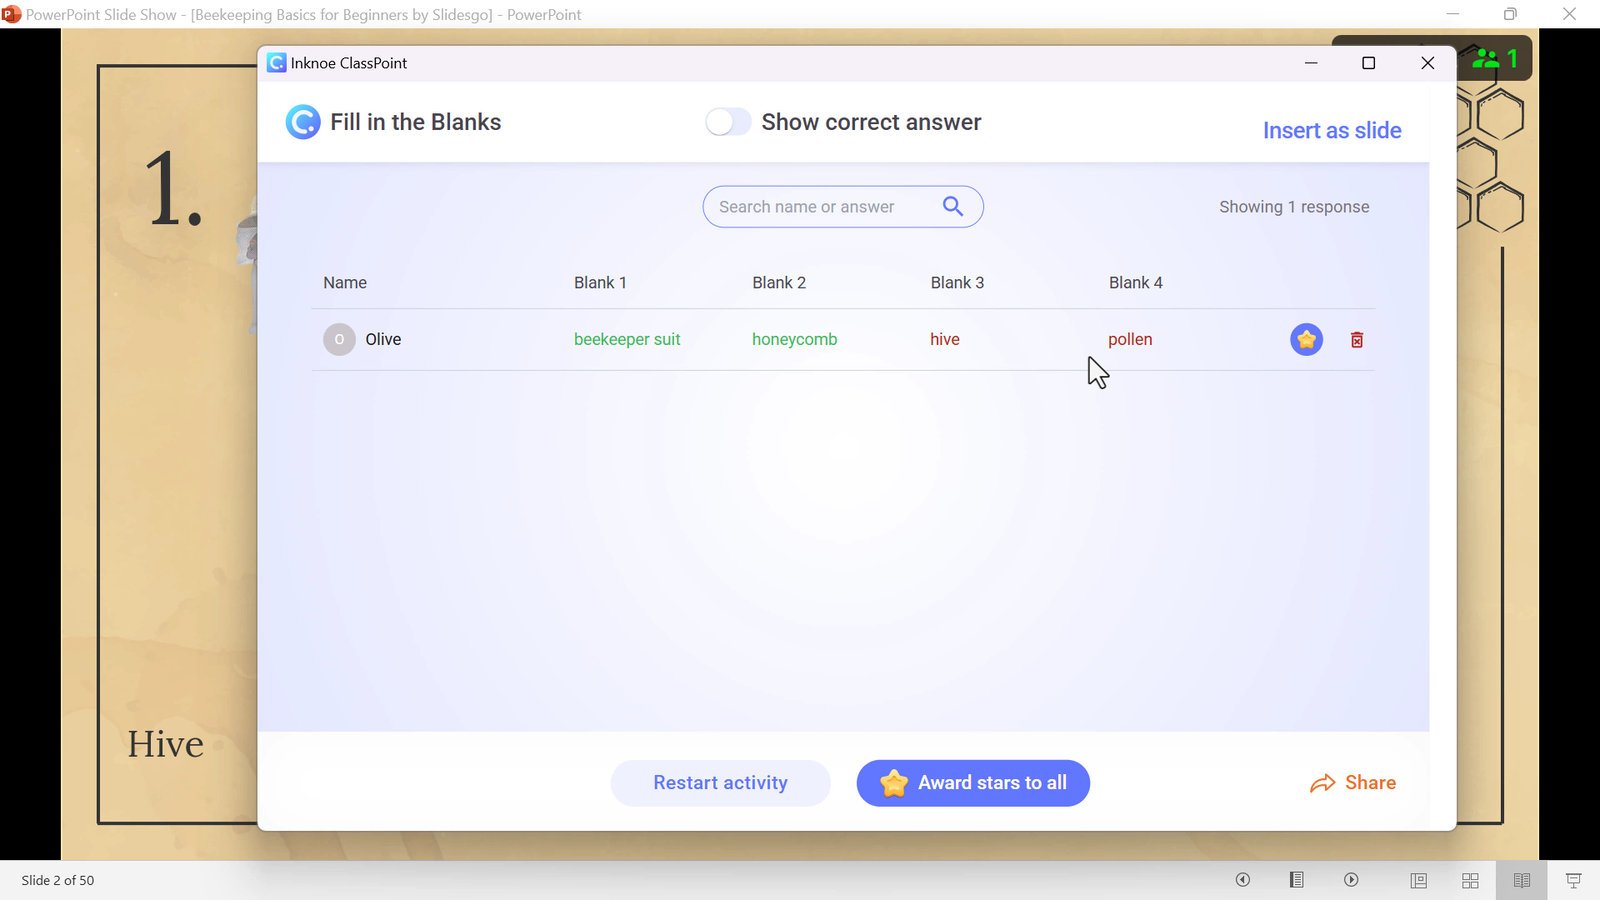
Step 5: Review Answers
Once all students have submitted their responses, close the question and begin reviewing the responses together. ClassPoint will indicate correct and incorrect answers, making it easy to assess understanding.
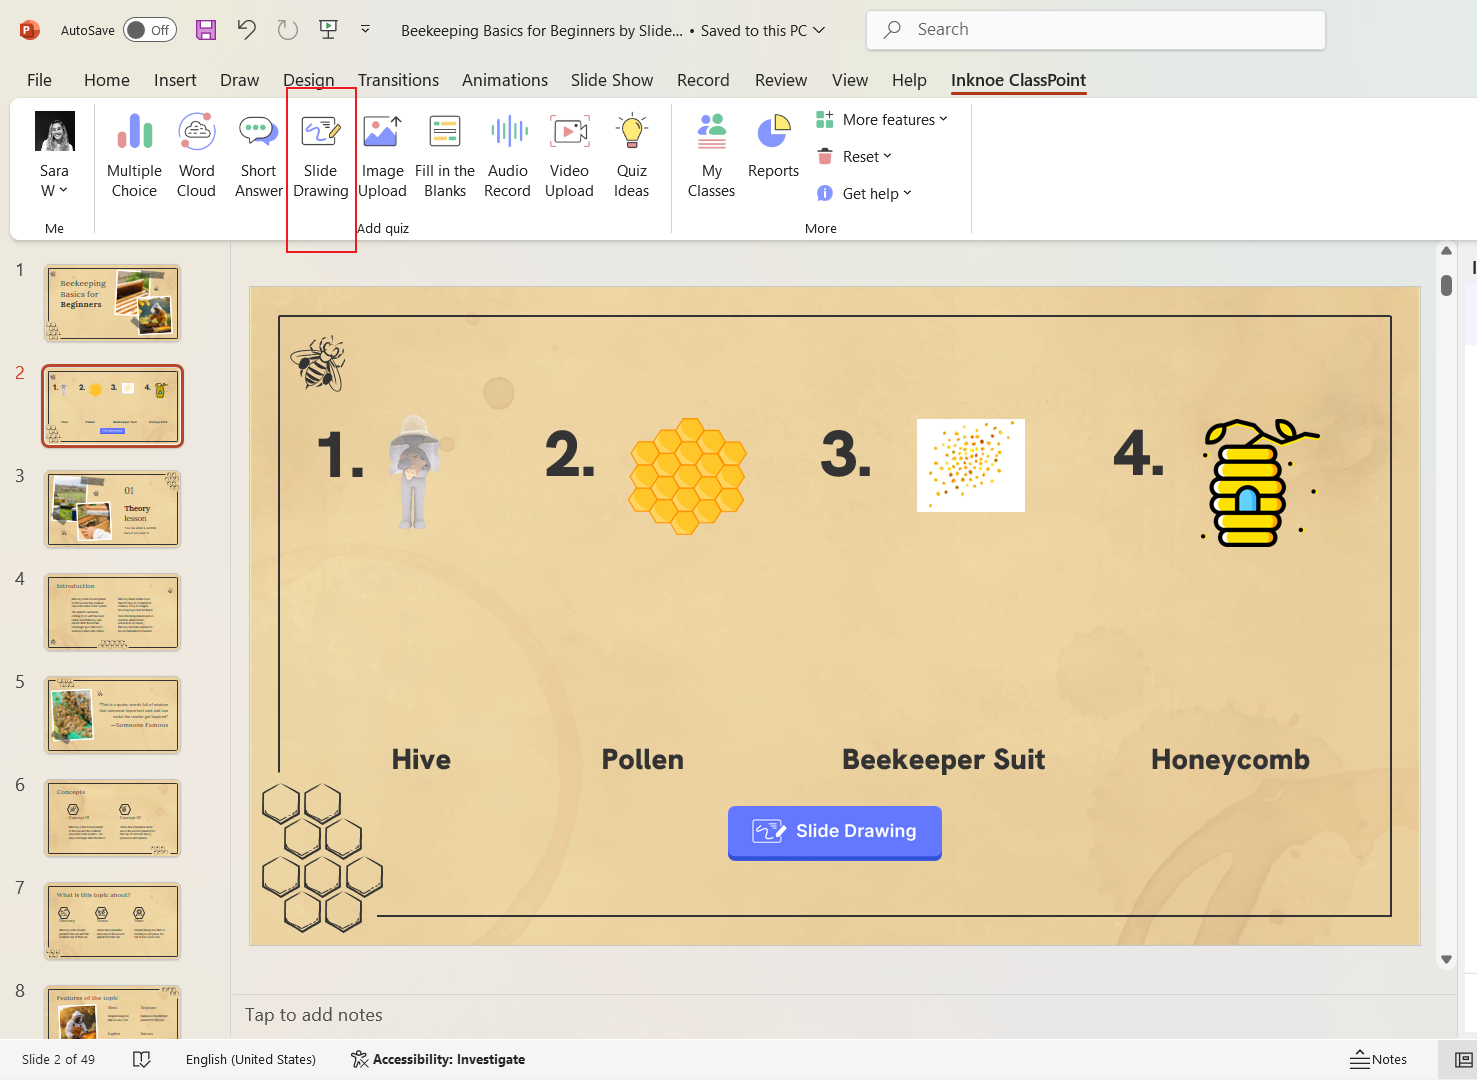
Method 2: Slide Drawing for Visual Matching
For students who learn best visually, Slide Drawing allows them to draw lines to connect matching pairs directly on the slide.
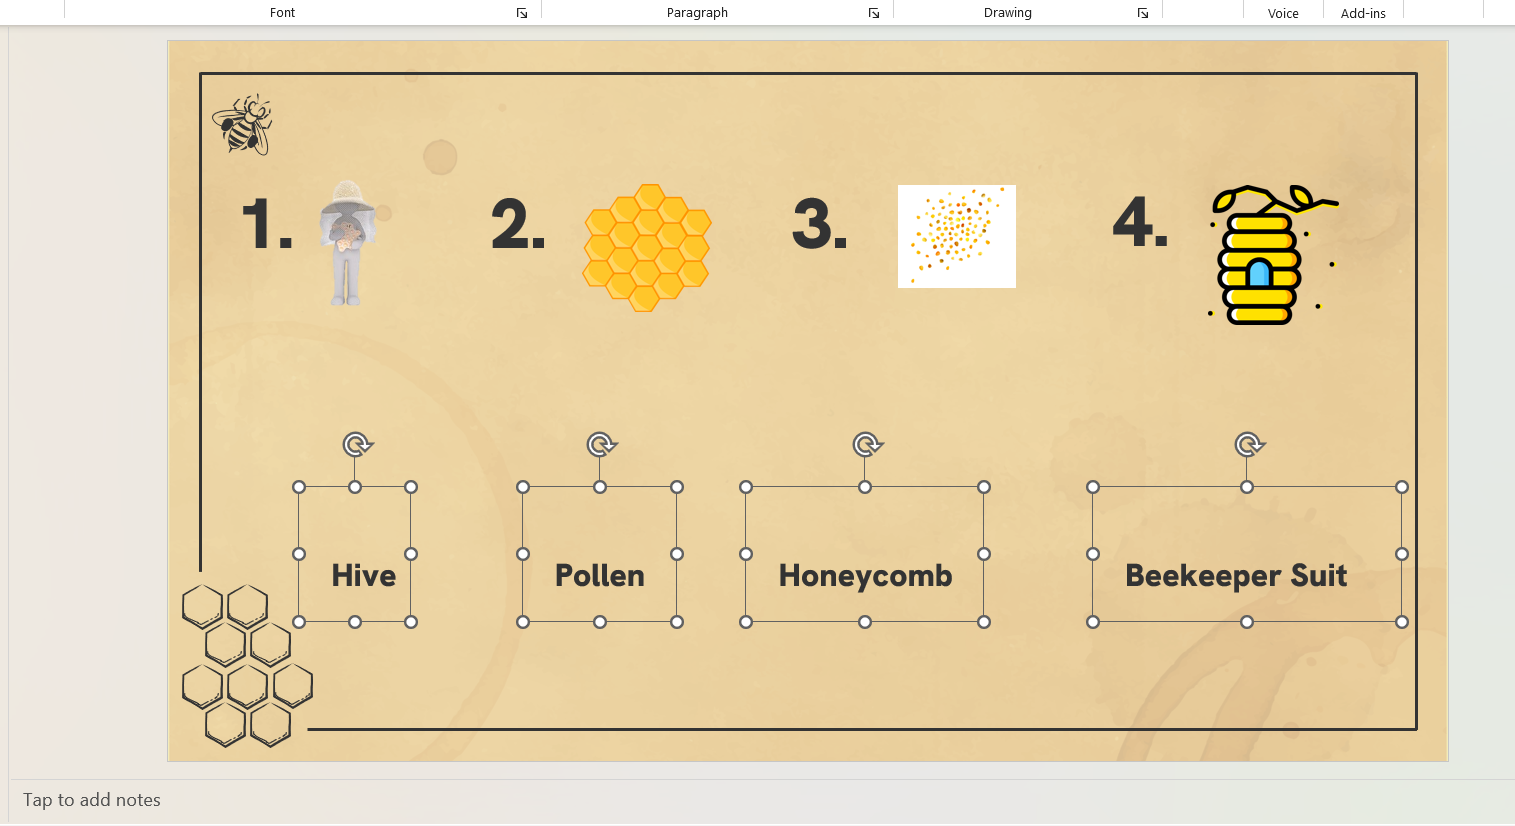
Step 1: Set Up Your Slide
Similar to the setup for the Fill in the Blanks example above, start by adding in the words or images that you want students to match.
Instead of using blanks like the above question, students will draw lines to connect the correct pairs, so ensure there is enough room between pairs!
Step 2: Add Slide Drawing Button
In the ClassPoint tab, choose the Slide Drawing question type.
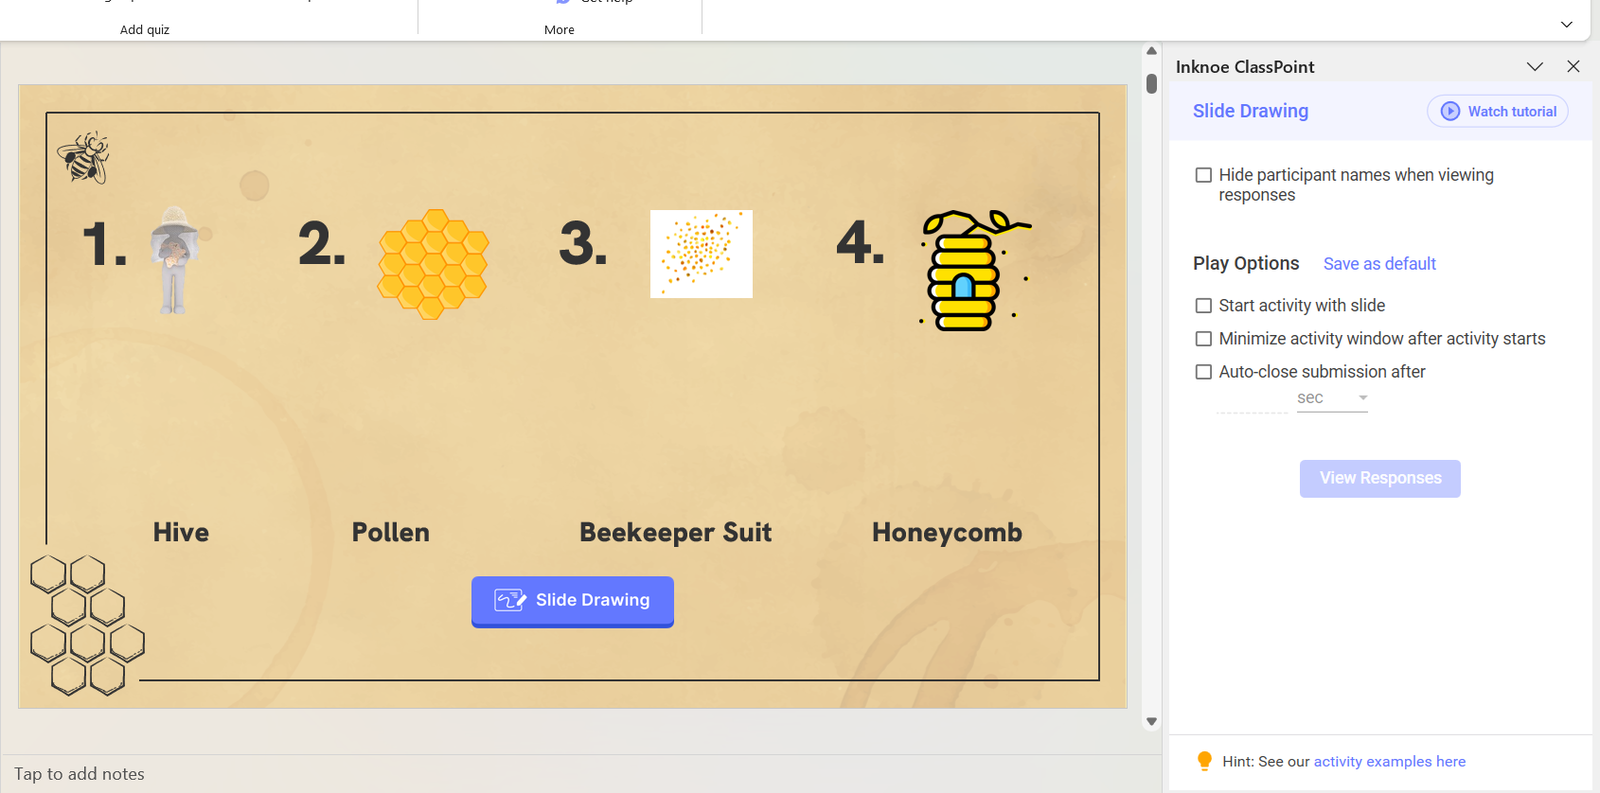
Step 3: Customize Settings
Customize any additional settings in the side panel to fit your needs, like hiding participant names so that they can submit anonymously.
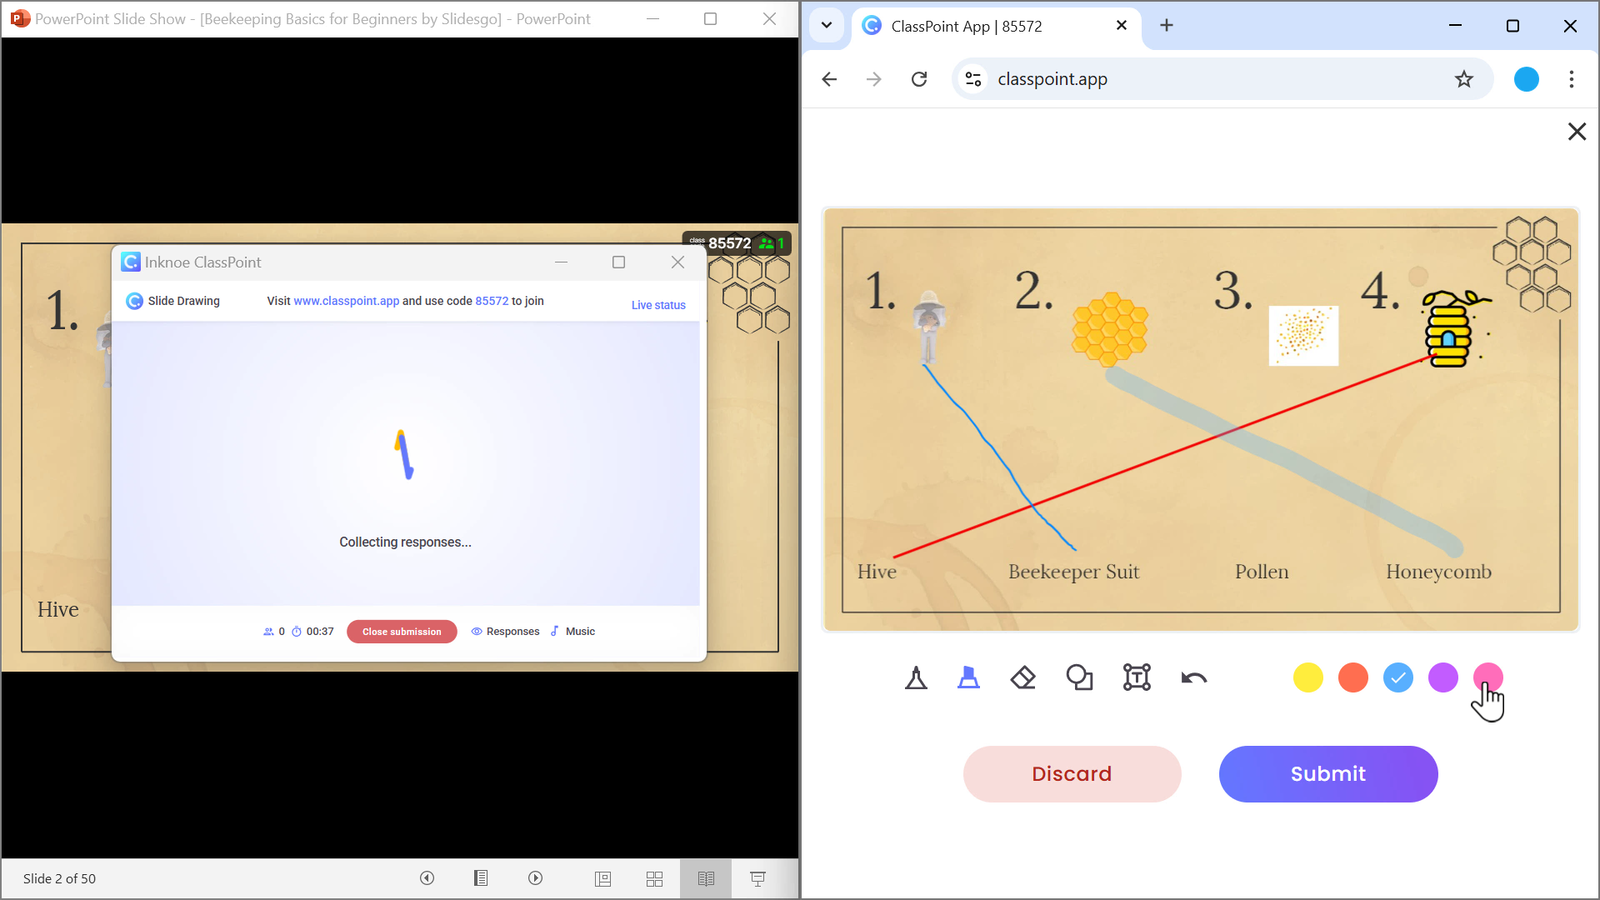
Step 4: Test the Activity
Just like in Step 4 above, join your ClassPoint class in a tab using any browser at the website, classpoint.app.
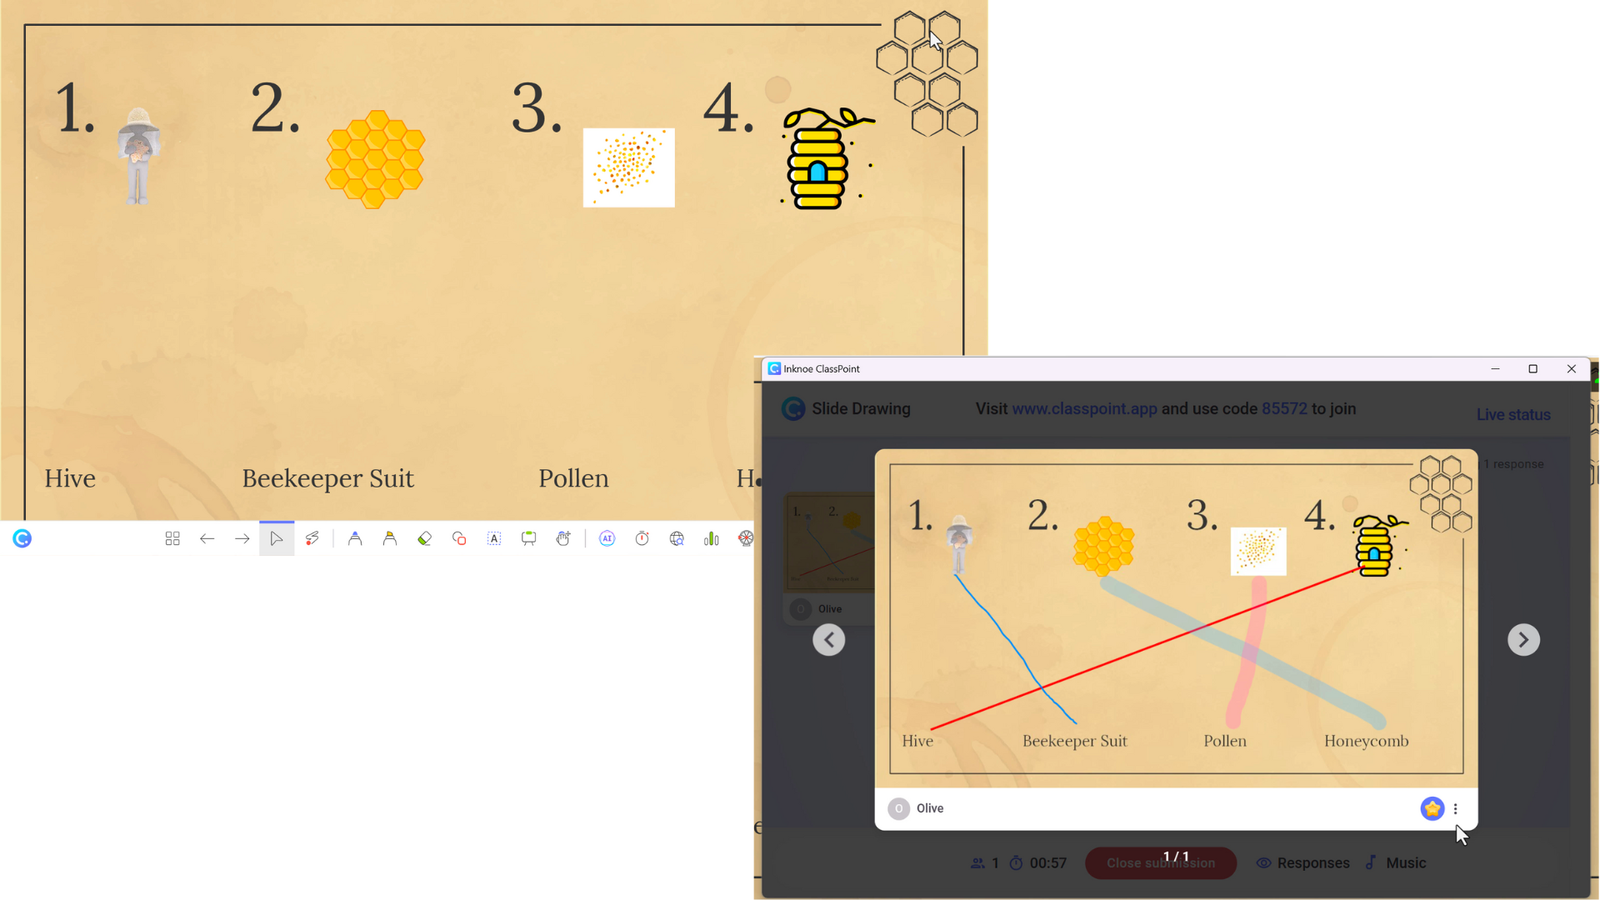
This time, when the question has started, participants can open the slide and begin using the drawing tools to mark up the slide. They are free to draw lines to connect the matching pairs.
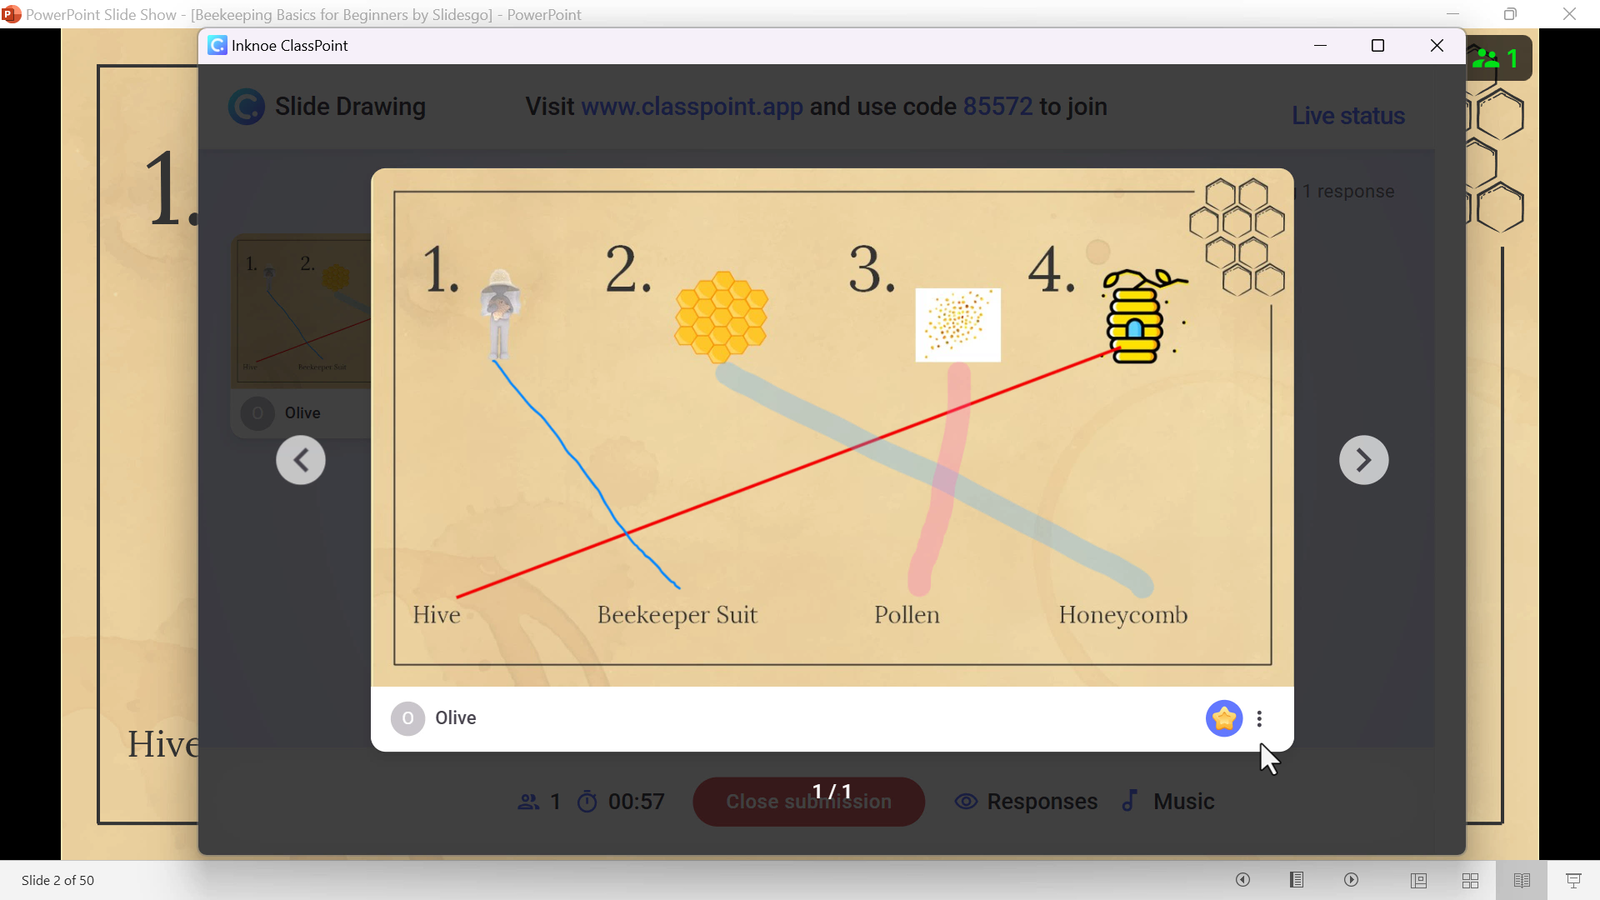
Step 5: Review Responses
Lastly, review the responses! Use the Lightbox view to display student responses bigger, and even insert them as a slide in your presentation so annotate or discuss further together as a class.
Bonus Method 3: Drag-and-Drop In-Person Matching Activities in PowerPoint
If you want to take engagement a step further, try an in-person drag-and-drop matching game in PowerPoint with ClassPoint’s Draggable Objects This works well for classroom participation and kinesthetic learning.
Step 1: Create your question slide
Add text boxes, images, shapes, or icons to your slide for students to match.
Step 2: Enable Dragging
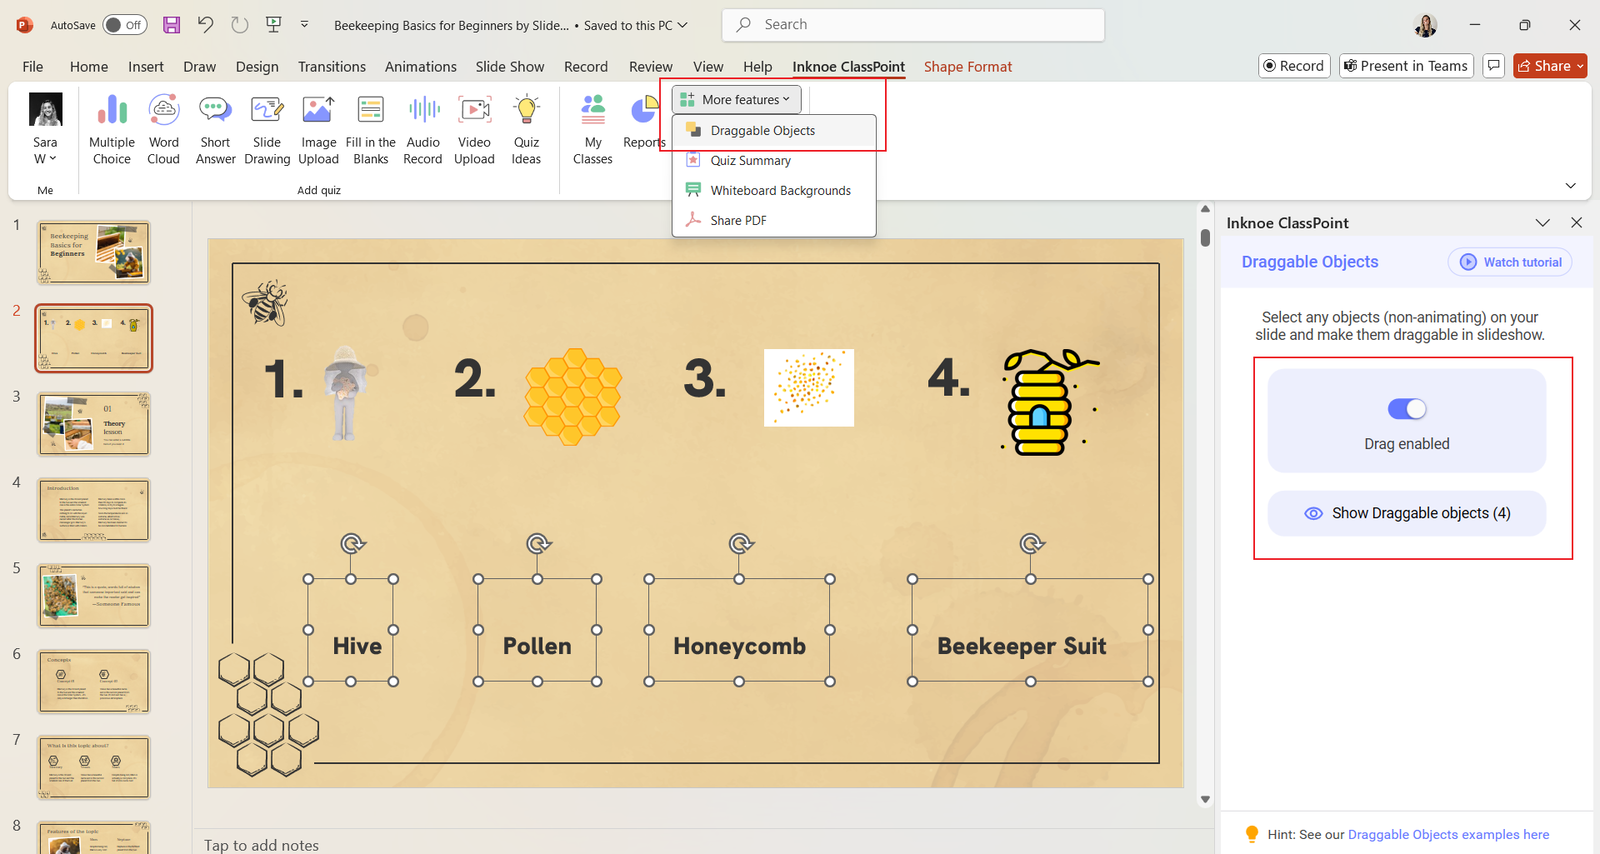
Click all the objects you want to make draggable. This could be just one-half of the matching pairs, or it could be all the items on your slide.
Once selected, click on the More Features in the ClassPoint tab of the PowerPoint ribbon. Then select Draggable Objects, then click the toggle to enable drag in the Side Panel.
That is it! You are all set up.
Step 3: Play in the Classroom
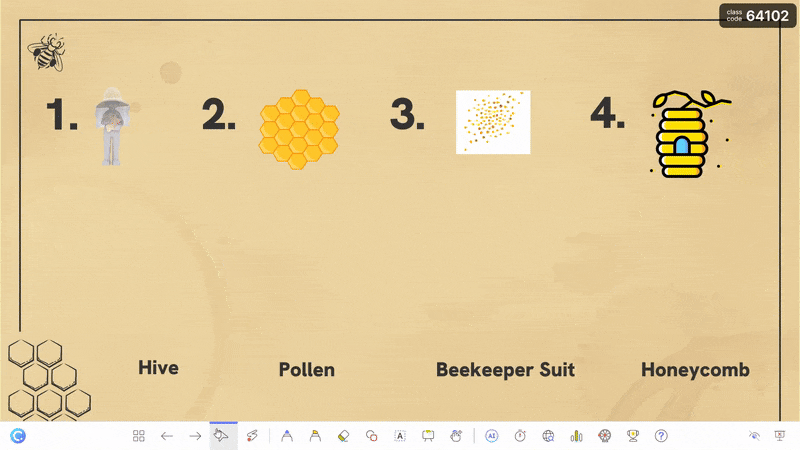
When presenting your PowerPoint presentation, project on a whiteboard or interactive screen. Ask students to come up and move the objects on the screen to match the correct pairs, or put words or phrases into a sequence.
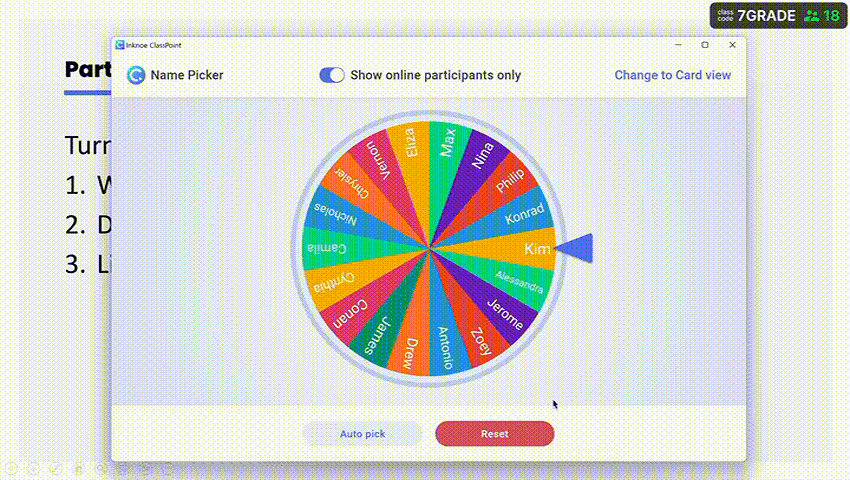
Alternatively, assign students to groups and have them discuss their matches before calling up a student using the Random Picker to move the objects.
Even though ClassPoint doesn’t have a built-in matching feature, these two question types—Fill in the Blanks and Slide Drawing—make it easy to create engaging matching activities in PowerPoint. Whether you prefer a typed response format or a visual connection approach, ClassPoint gives you the flexibility to choose what works best for your lesson.
For an added interactive touch, you can also implement drag-and-drop in-person matching to make learning even more dynamic. Try these methods today and make your lessons more engaging with ClassPoint’s interactive features!
