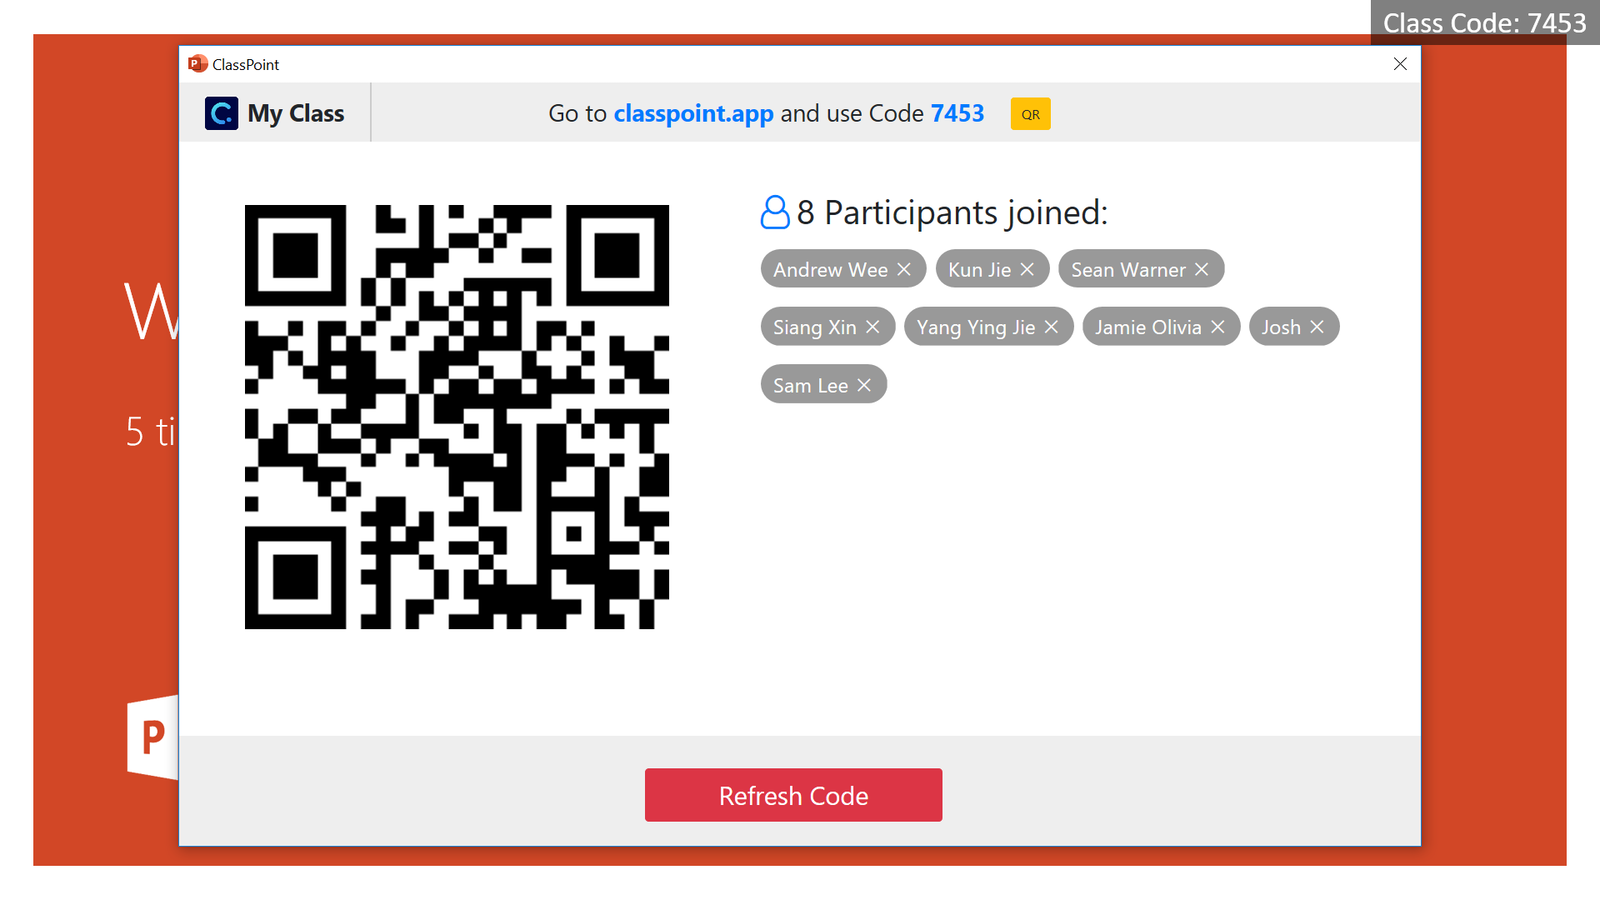
If you just got started with ClassPoint, likely you are letting students join your class by opening the My Class dialog which allows them to join either by entering the URL in their browsers or scanning the auto-generated QR code (if they use smartphones or tablets).

This is pretty cool experience, but when the dialog is open, you are essentially waiting for students to join, taking time away from your teaching. This can take up to a few minutes if you have a large class. In this post, I’d like to share with you a few tips to make the joining process more efficient. If you implement these tricks, joining a class should take no more than 10 seconds.
Pro tip 1: Put a tooltip on your title slide
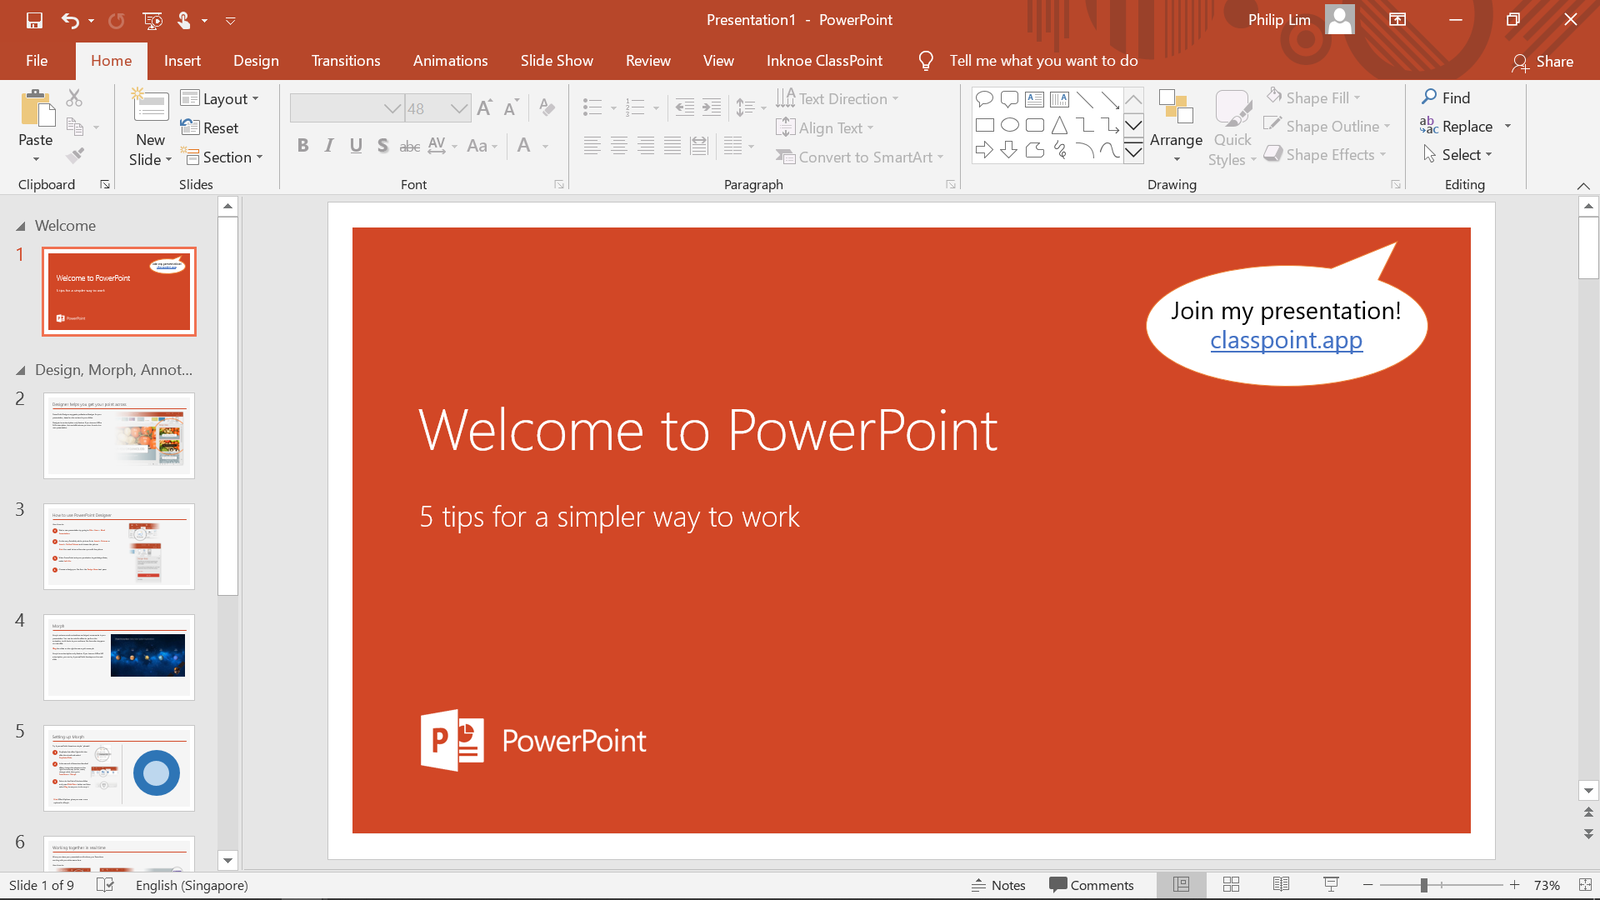
When your students are new to ClassPoint, you can design a tooltip and put it on your title slide pointing to the class code (like my screenshot below). This way you can start talking about the title slide and students will be able to join at the background without My Class dialog open (this is what I do when I speak in conferences).

Note that the join URL (classpoint.app) never changes and it’s pretty easy to remember. Students pick up technology pretty quickly, so soon you won’t even need the tooltip anymore ?
Pro tip 2: Students can join your class anytime during your presentation
Do you need everyone to join before you move on with the rest of your presentation? Well, no unless you have a probing question to ask them on the first or second slide. Most of time you can just move on, because students can join your class anytime during your presentation. If you choose, the auto-generated class code will always be displayed for the students, no matter if they are with you in the same classroom or on the cloud.
Pro tip 3: Create a Chrome shortcut for laptop users
If your students are using laptops, you can help them create a shortcut for the ClassPoint App and pin it to Start/Taskbar (Windows) or the Launchpad (Mac). This way when they click the icon, they will be redirected to the ClassPoint App without even needing to remember/enter the URL.
- Open Chrome browser and navigate to classpoint.app;
- Go to Menu → More tools → Create shortcut;
- Check Open as window and click Create to put the shortcut on your Windows desktop or Mac launchpad.
Pro tip 4: Create a Homescreen icon for mobile users
Do you know you can do the same thing for iOS & Android? Here’s the tip for iOS: open classpoint.app in Safari mobile, you can easily add the page to home screen as follows:
- Open Safari mobile and navigate to classpoint.app;
- On the bottom menu bar, click the Share icon → choose Add to Home Screen;
- Click Add to confirm.
Doing this for Android devices is very similar, just that you will be using Chrome or Firefox mobile browsers to do so instead of Safari.
A final word about the class code
Hope you can begin using the tips immediately to make your classes more productive. Once students are joined, be rest assured that you will not need to change the code even if you are a professor delivering a 3-hour lecture. Specifically, the code will not change:
- when you exit and enter slide show again;
- when you open and present another PPT file;
- when you close and restart PPT;
- even when you shut down and restart your computer.
This means as long as you are still teaching the same group of students, your class code will not change. When you go to another class, you can easily refresh the class code following the steps below, and the system will generate you a new class code for the new students.
Happy teaching!
P.S. If you need a refresher training on how to use ClassPoint, please check out this Get-Started Video Tutorial.
