At ClassPoint, we provide educators with tools to improve engagement and simplify classroom management right inside PowerPoint. With the many PowerPoint superchargers made available, new users often find themselves asking: “What is a ClassPoint Class?” A ClassPoint Class allows teachers to create two types of classes: Public Class and Private Class. Understanding the differences between these options will help you manage your classes more effectively and enhance your overall teaching experience. In this blog, we’ll explore the key features, benefits, and best use cases for each class type.
Public Class: Quick and Easy Setup
Public Classes are designed for teachers who need a fast and straightforward way to start a session without the hassle of managing participants. Here’s how Public Classes work:
Benefits of Public Classes:
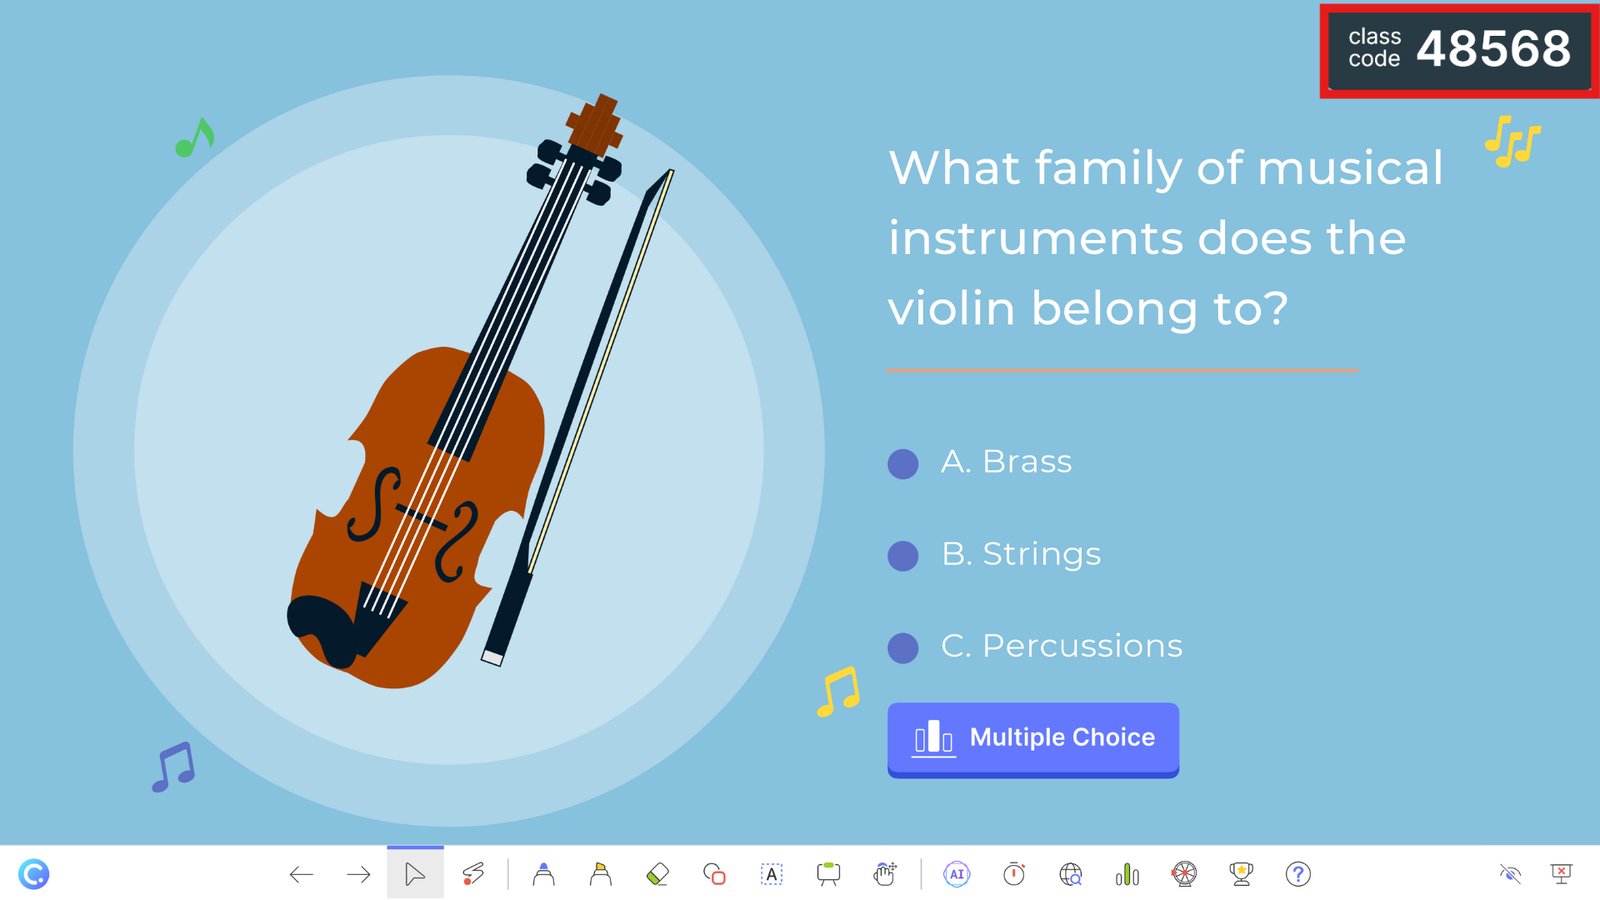
- Speed: A random 5-digit class code is automatically generated when you enter PowerPoint slideshow mode, allowing you to quickly start a session.
- Easy Access: Anyone with the code can join by entering their nickname, making it simple for participants to get involved.
- Flexibility: Ideal for spontaneous lessons, workshops, webinars, or public presentations where you expect a diverse group of participants.
- No Setup Required: Perfect for impromptu lessons or demonstrations, eliminating the need for extensive preparation.

However, Public Classes are better suited for quick, one-off sessions. If you want to build consistency and control in your classroom, you might prefer Private Classes.
Private Class: Enhanced Control and Long-Term Engagement
Private Classes provide more structure and control, making them ideal for ongoing courses where student participation and progress tracking are key. Here’s what sets Private Classes apart:
Benefits of Private Classes:
- Custom Class Code: You create a specific code for your class, ensuring only predefined participants can join, which makes classroom management more organized.
- Secure and Controlled Environment: Unlike Public Classes, only authorized students with pre-assigned names can participate, and guest access is disabled by default to maintain a focused classroom environment.
- Track Student Progress Over Time: Students’ stars accumulate across sessions, making Private Classes perfect for fostering long-term engagement and healthy competition. You can also track and manage your students’ progress through leaderboards, adding another layer of motivation.

Get started with our guide on how to make an interactive quiz in PowerPoint with ClassPoint.
Quick Comparison: Public vs. Private Classes
To summarize and make the differences easy to understand, here’s a comparison table:
| Item | Public Class | Private Class |
|---|---|---|
| Class Code | Automatically generated 5-digit code | Custom-defined class code |
| Who Can Join | Anyone with the code and a nickname | Only predefined participants with assigned names |
| Student List | Not saved; students join each session anew | Permanently saved; automatic enrollment in future sessions |
| Security | Open access for anyone with the code | Restricted access with options to allow or block guests |
| Name Control | Students can use any nickname | Students must use their designated names, ensuring organized class management |
| Star Accumulation | Stars reset after each session | Stars accumulate over time, supporting ongoing engagement and competition |
| Use Case | Ideal for quick, open-access sessions or public presentations | Best for regular classes requiring consistent student tracking, enhanced security, and ongoing engagement |
How to Create Your Class
With a Public Class, simply enter slideshow mode, and a 5-digit class code will appear automatically on the top-right hand of your screen. Share the code with participants, and you’re ready to run your session—quick and easy!
For a Private Class, setup is just as simple, but with added control. Follow these steps:
- Go to My Class: In your ClassPoint tab, click on My Class.
- Create a New Class: A window will pop up. Click Add New Class.
- Set Class Details: Create a class name (for your reference). Add a class code (for students to use each time they join). Optionally, add a cover image for your class.
- Add Participants: You can either manually add student names or upload a list of student names.
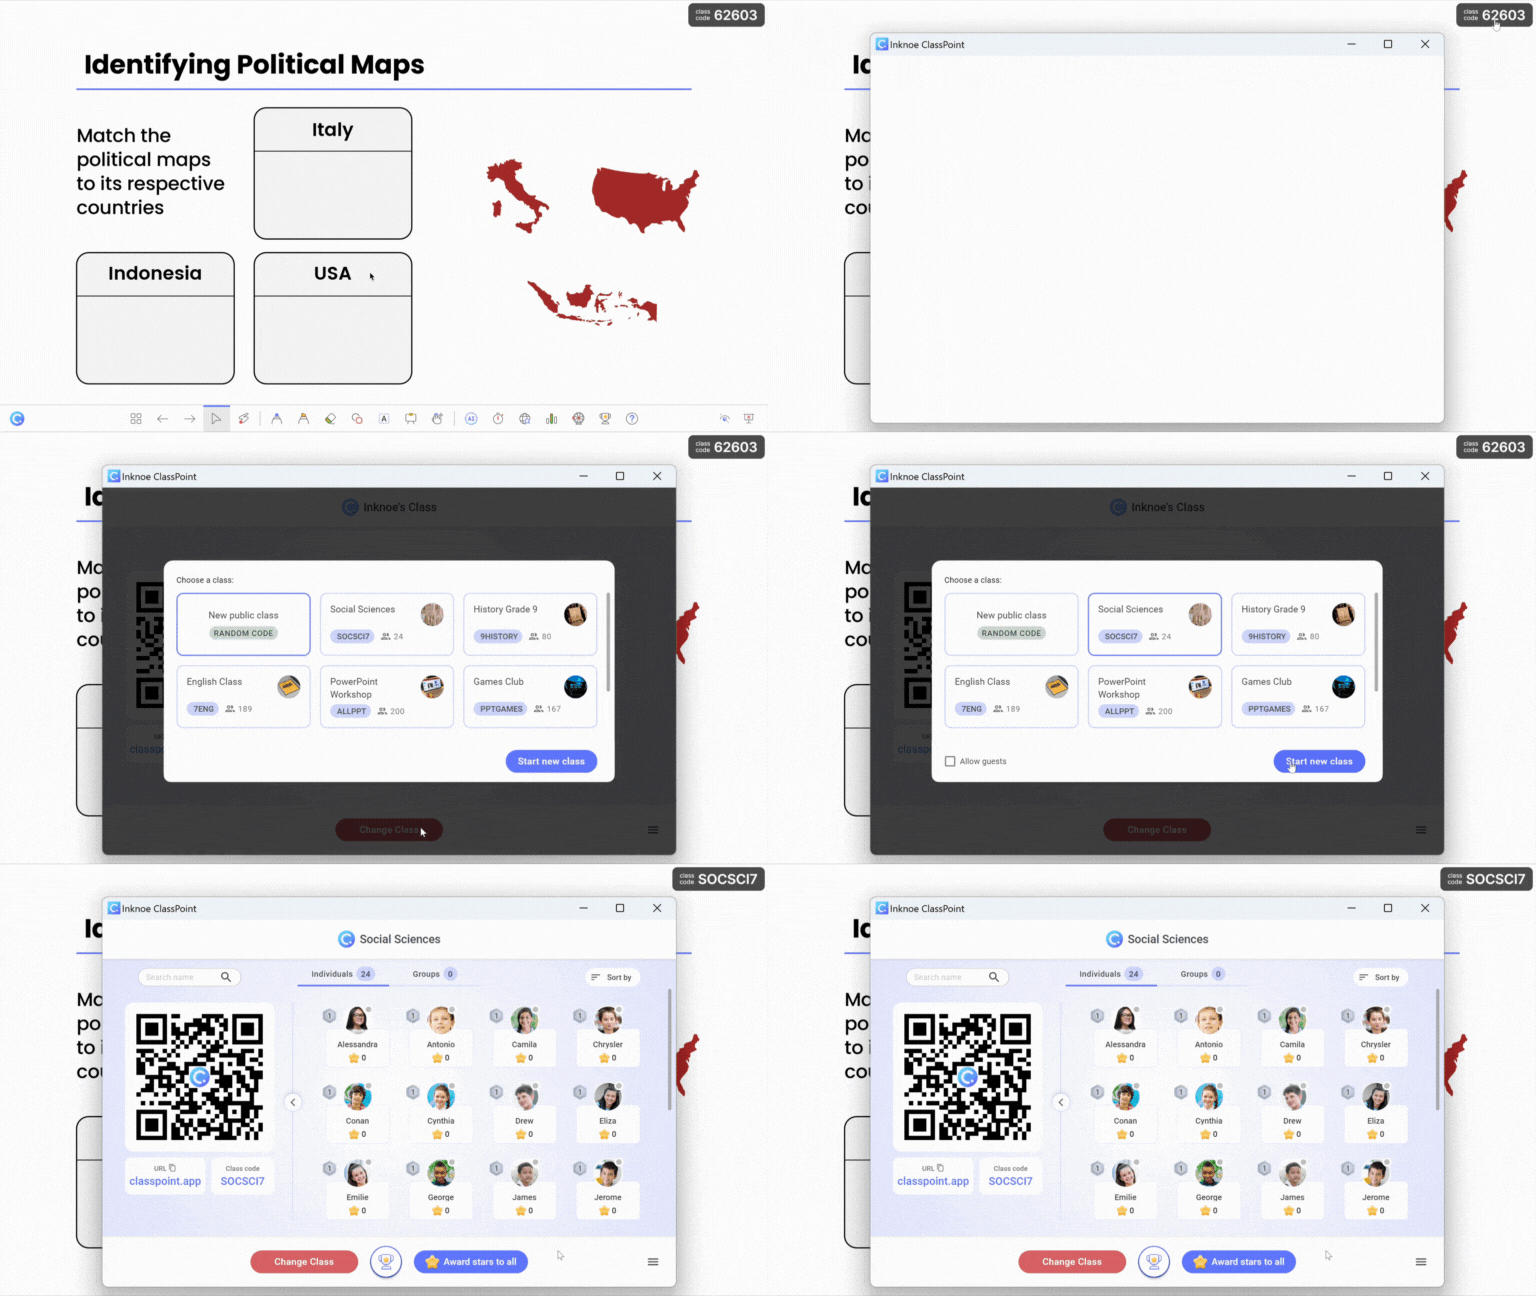
- Start Your Class: Go into slideshow mode, click the top-right corner, and select Change Class. Choose your Private Class, and you’re all set to start teaching!
Wrapping Up
Getting around the question, “What is a ClassPoint Class?” is key to kickstarting your ClassPoint journey. Public Classes are great for quick, open-access sessions, while Private Classes offer more control, security, and sustained engagement. Selecting the right ClassPoint Class type can significantly improve classroom interaction and efficiency, allowing you to better meet your teaching goals.
Now that you know about ClassPoint Classes, let’s explore how you can award stars to students to boost engagement. Check out this guide on how to award stars in PowerPoint.

